Whether you're sending automated messages or reaching out personally, Preferred Name helps keep your communication respectful and personal.
Why it matters
When a contact is created or synced from a POS or LOS, their legal name is usually what's passed into Lendware. But that doesn’t always reflect what they go by in everyday life. That’s where the Preferred Name field comes in.
Here are a few quick examples:
-
Legal Name: Benjamin → Preferred Name: Ben
-
Legal Name: Christina → Preferred Name: Tina
-
Legal Name: Abraham → Preferred Name: Chip
Follow along or jump to a specific section:
Find and Add a Preferred Name
Preferred Name is easy to find at the top of the Edit Contact slide-out. Most commonly accessed when in a Contact record itself. This is where we will start.
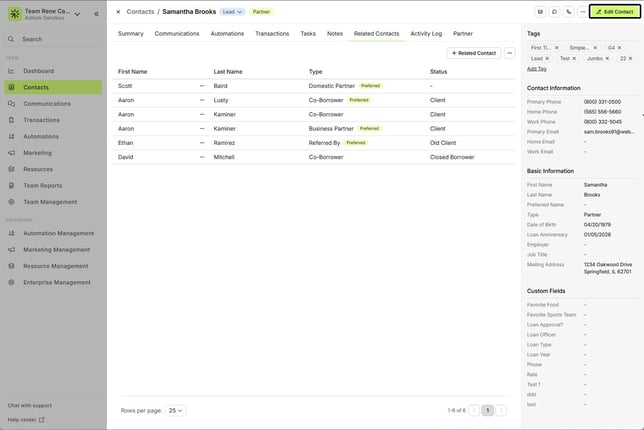
- After opening a contact record, we see the entirety of all contact details available. Look for the 'Edit Contact' button at the top-right of the window.
- After clicking, the 'Edit Contact' slide-out will appear on the right. Directly below the First Name, we'll see Preferred Name and a checkbox for 'Use preferred name'.
Preferred Name: This is where the name the contact prefers to be called can be entered
Use preferred name: Click-to-enable this. When checked, it will allow the preferred name to be added and will make it available for use in merge fields for communications.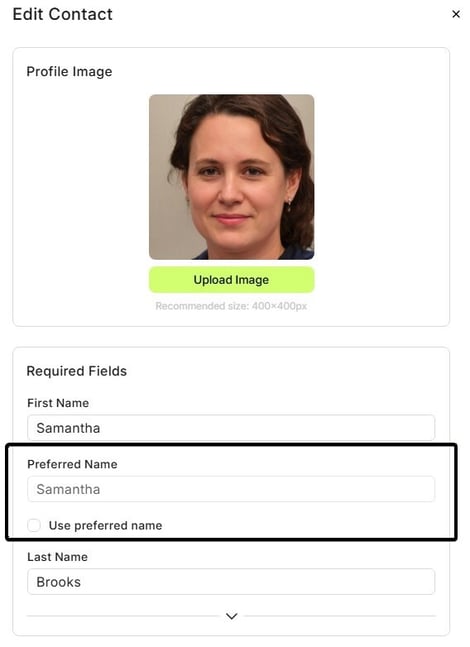
- In the animated GIF below, we show how easy it is to add a preferred name. First, click the 'Use preferred name' checkbox, then add the preferred name and save.
- Once saved, it will now display on the right in the Basic Information section.
- Additionally, we can quickly add preferred names directly from any page that shows a contacts name, by clicking the ellipsis [...] next to their name and choosing 'Edit Contact'. We can quickly update multiple contacts, right from the Contacts page, as demonstrated in the animated GIF below.
👍 This concludes finding and adding a preferred name
Merge Field for Preferred Name
At any time, we can begin using the preferred name merge field in email or SMS/Text actions.
The reason we can begin adding the preferred name merge field, rather than the first name merge field, is that when a contact has a preferred name, it will load. If the contact does not have a preferred name, their first name will load. This is called a 'fallback'. If a preferred name does not exist, it will 'fallback' to the first name.
To learn the basics of adding merge fields to emails and SMS/Text actions, click here.
In the below animated GIF, we demonstrate adding a contact's preferred name to a basic email.
After sending, we clicked on the communication itself to view what was sent. In the below image, we can see the preferred name, "Max" was added to the email automatically.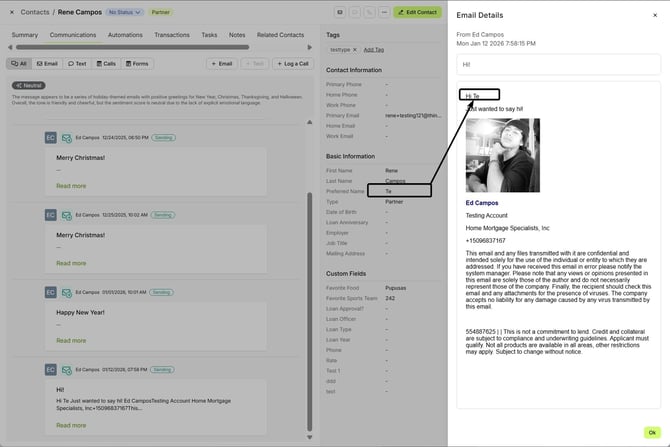
If there was not a preferred name on the contact, it would have loaded or merged-in the contact's first name automatically using it as the 'fallback'.
👍 This concludes adding a merge field for preferred name