List View of Tasks Assigned to You and Your Team
The Tasks view in Aidium allows you to organize and easily manage both your tasks and your team’s tasks.
Accessing the Task View
Tasks can now be accessed from any page in Aidium using the Task button located in the upper-right corner, near your profile photo and the signature icon. Just click it to quickly view or manage your tasks without needing to navigate away from your current screen. 
Task View Overview
Once opened, the Task View provides a clear, streamlined layout of all tasks within your team. You can sort, filter, and switch views easily.

- Columns - These directly correspond to the data fields filled out in each Task. These are all the fields designated as visible in this view. You can change the columns using the 'Manage columns' button. You can also sort the table (ascending or descending) by clicking the Sort icon on each column as demonstrated in the animated GIF below.

- My Tasks vs. Team Tasks - Switching between tasks assigned to you vs. tasks assigned to your team can be done with a click. Just choose the option you want to view, as seen in the animated GIF below.

- Additional Options - Next to the Subject of each task, there is a '...' button that will display the additional options for each task. You can do the following:

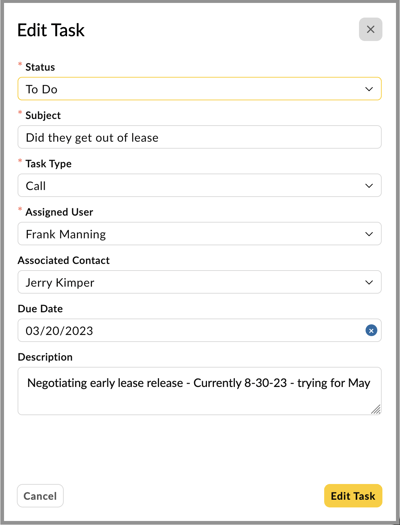
- Edit - This will open the Edit Task drawer, allowing you to edit any of the available fields within a task.

- Delete - If a task is no longer necessary or was created by accident, deleting a task can be done from within the Tasks view, as demonstrated in the animated GIF below.

- Edit - This will open the Edit Task drawer, allowing you to edit any of the available fields within a task.
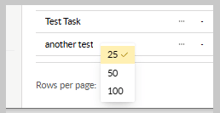
4. Number of Visible Tasks per Page - You can choose the number of tasks you would like visible on each page. Click the drop-down in the lower-left of the Tasks view and choose how many you would like visible on each page (25, 50 or 100).

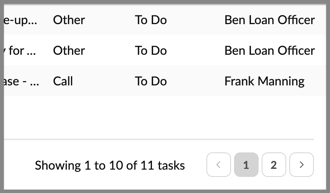
5. Advance Page and View Total Task Count - When there are more Tasks than can fit on a single page, you can click to go to the next page of Tasks. To do so, look for "Showing"... at the lower-right in the Tasks View. Simply click on the < or > buttons, or choose the page # you would like to advance to. Within that section, you will also see the total Task Count that matches the filter you either have set or not set.

👍 This concludes a walk-through of the Task List View