⚠️ Before attempting to create a 'Zap' - you should have a moderate or higher level of experience using Zapier. While Zapier does assist in verifying your connection and rules are valid, it does not have the ability to verify your expected outcome.
🚫 While we provide the pre-built tools in Zapier - we do not warranty these tools against failure, incorrect setup, or any 3rd parties you connect a Zap to.
⚠️ Depending upon your account type in Zapier, additional charges may apply based on usage. These costs are through Zapier and are out of our control.
Initial Setup of Zapier - Adding our Zap template to your account and building a Zap using Lendware as the trigger.
- If you do not yet have a Zapier account - go to zapier.com to set it up. Using our pre-built zap does not require a paid account, however, the number of Zaps you can create and the number of times you can use each per month, is limited.
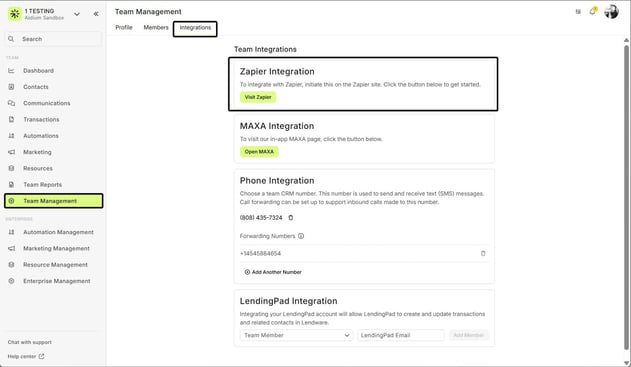
- From your logged in Lendware account - in the left menu, choose Team Settings, then Integrations. You should then see the available Integrations options - click the Visit Zapier button, in blue.
- A new browser tab will open - if you are not signed-in, you will do that now. If you are signed-in, it will look like the below. Simply click the Accept Invite & Build an App button, in orange.

👍 This concludes initial setup of Zapier - Adding our zap template to your Zapier account.
Setup of using 3rd party to trigger action in Lendware.
⚠️ To continue, you should have already gone through the above section on initial setup of the Lendware zap template, logged-in and accepted the connection.
⚙️ The latest version number will always begin 3.X.X - for best results, always chose the highest version number available.
- To begin, you must setup your trigger from the 3rd party app of your choice. Create a new Zap. Once you have finished setting up the trigger in step 1 - you should see the following, which should look very familiar from when you setup your previous Zap.
To add the action - Search for our Zap template and chose the most recent version for the most up-to-date compatibility and options. - From there, you will be presented with the 'action' choices in Lendware - For this demonstration, we will choose, 'Create Contact'. Then click the 'Continue' button, in blue.
- Next, we will choose the account to create the contact in. Find the appropriate account, choose it and click the 'Continue' button, in blue.

- In the following animated GIF, we will map the available contact options with the data points being passed by the trigger app. These options will be different for your trigger app.
- Once you have the options chosen and clicked the 'Continue' button, in blue - you will have the opportunity to verify each of the data mappings you created in the previous step.
If you want to go back to the mapping choices window, just click in 'Set up action'.
If you are satisfied, choose 'Test action' to verify - or - you can choose 'Skip test'. - Once complete, you can publish your Zap and it will be live.

- It is very important to verify the connection by watching for the Trigger itself to take place in the app you added as the trigger.
Then, check the destination event app - verify the action you added above happens.
🌟 Zapier has a great system for tracking and notifying you of issues in Zaps you set up. This may not warn you of a Trigger issue, but it will warn you when a trigger occurs, and there is a flaw in the action or required mapping of data.
⚠️ Zapier does not warranty their product - it can fail. Things like, password changes, data field changes, account setup changes, etc., can all break or cause flawed or unexpected action in your Zaps. It is your responsibility to maintain your Zaps and Zapier account connections.
👍 This concludes adding a 3rd party trigger to push an event and data into Zapier