We will review many aspects of the quick email function in a contact record.
- Sending a basic email to your contact
- Adding a Cc and Bcc to your email
- Basic text formatting
- Adding a link to text
- Inserting an Image
- Adding an emoji
- Adding a merge field
- Adding a merge field to an email subject
- Adding an attachment to email
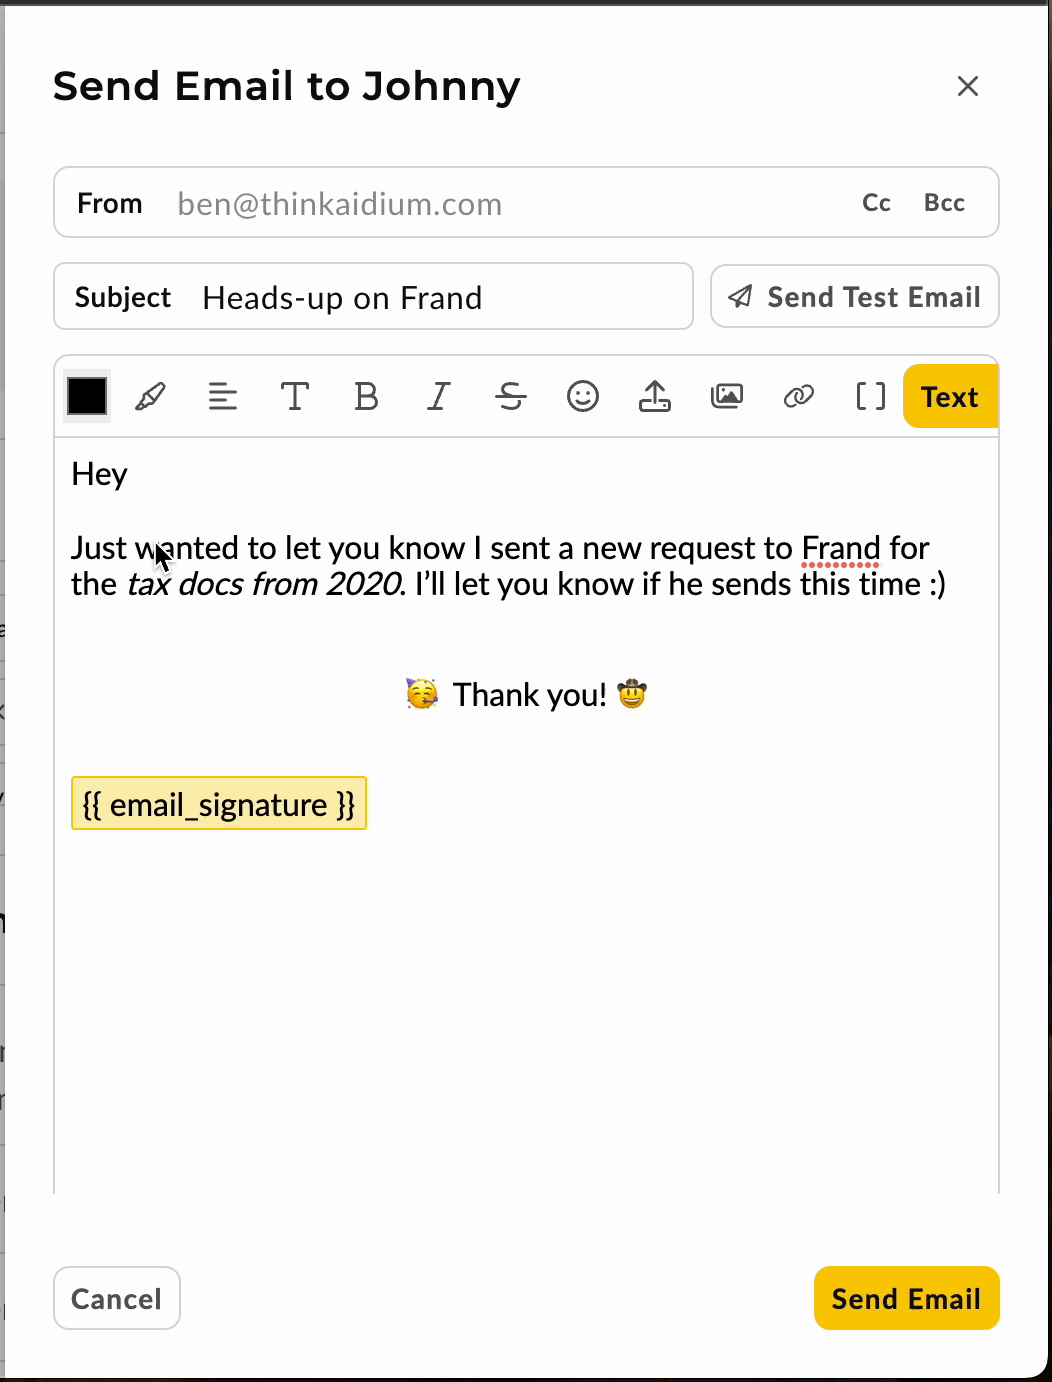
Sending a Basic Email to Your Contact
- Once you have found and opened the Contact you would like to send an email to, find the 'Email' icon in the upper-right.

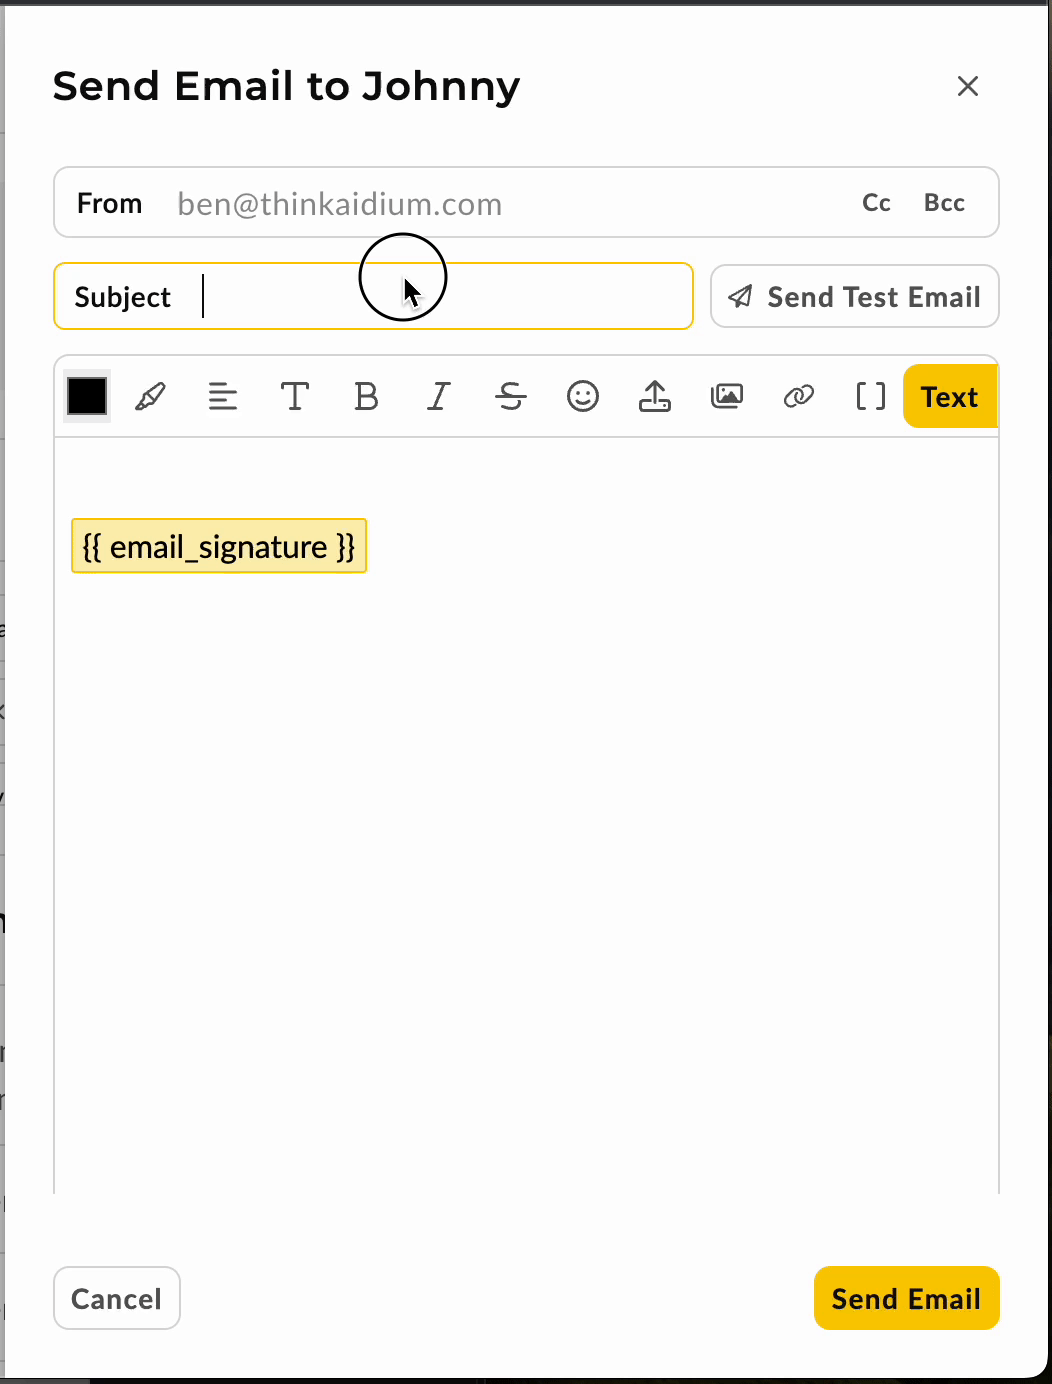
- The Email a Contact slide-out will appear on the right side of the screen. The only requirements for sending a quick Email is to add a subject and the body text. You will see the merge field for your signature is already there. Do not delete the signature field, unless you do not want your Email to auto-populate when sending.
- Once you are satisfied with the email, simply click 'Send Email' at the bottom of the Email slide-out. The email should send within a few seconds and provide you with confirmation at top-right of screen.
⚙️ When sending a Test Email, it will send through your integrated email, to your integrated email address. This is also the method a direct email will send, from your integrated email address. To learn how to adjust your email integration setup, click here.
👍 This concludes sending a basic email from a contact record.
Adding a Cc and/or Bcc to an Email
Sometimes, it's necessary to either Cc (Carbon Copy) or Bcc (Blind Carbon Copy) others when sending an email to a contact. Both are quick and easy, as long as you have the additional email addresses handy.
⚠️ 'Cc' on an email will be visible to the recipients - and if anyone 'Replies All', anyone in the To or Cc will receive the response.
⚠️ 'Bcc' on an email will hide that email from the To and Cc - the visible recipients will have no indication that anyone was Bcc'ed on the email.
- Once you have the Email a Contact slide-out visible - look to the upper-right for either the 'Cc' or 'Bcc' text. Simply click whichever you want to use, or click each of them to use both.
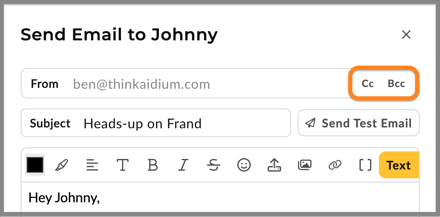
- Add the email address(es) to the appropriate Cc or Bcc fields.
- Complete your email and send.
👍 This concludes adding a Cc or Bcc to an email.
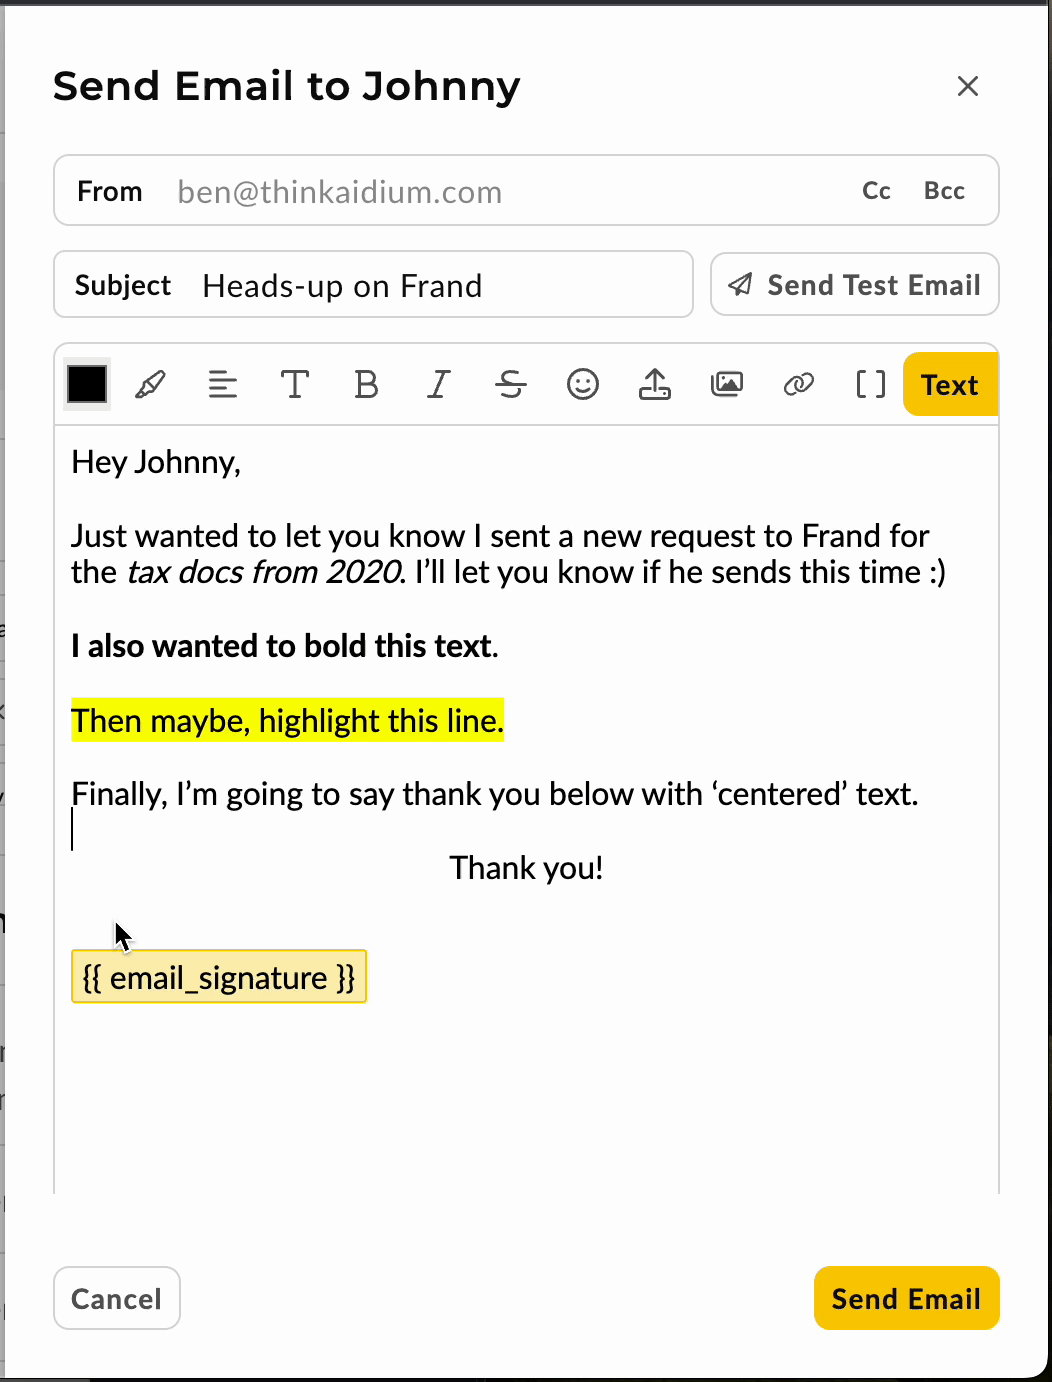
Basic Text Formatting
Formatting of text in an email can be helpful when pointing out specific items, adding lists or just about anything you want to stand out.
Once you have the Email a Contact slide-out visible and you have started your email text. You can begin formatting. See the animated GIF below.These are some of the text formatting options available:
- Quick update of pre-formatting options for text - Heading 1, 2, 3 and Paragraph (default)
- Bold, Italic, Strikethrough, Highlight
- Justification: Left, Center, Right
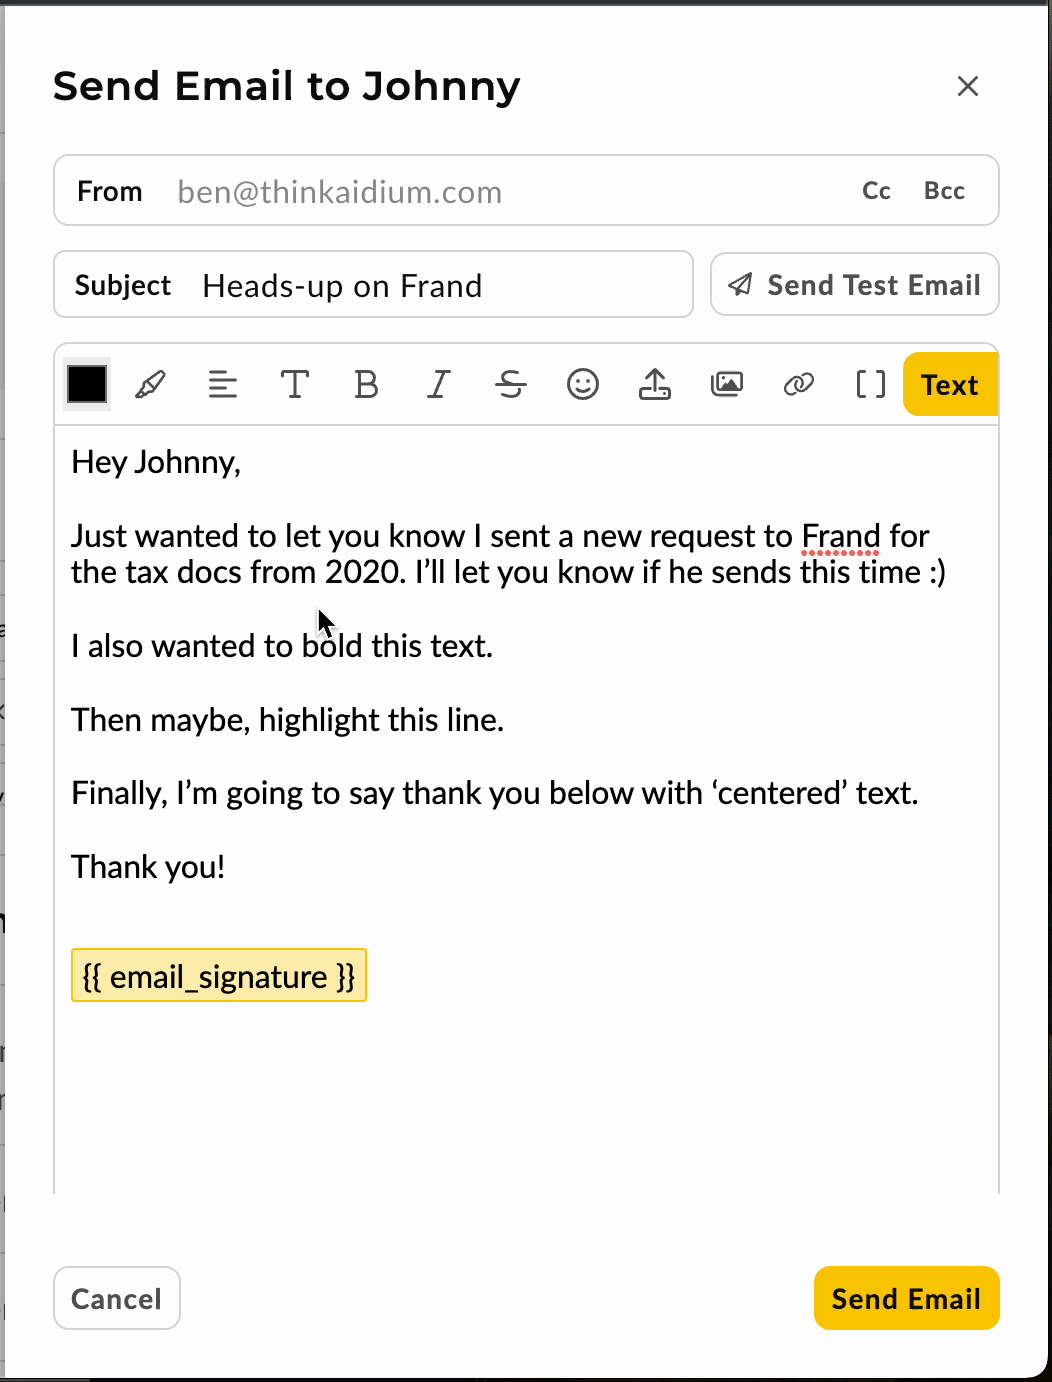
- Spacing between lines - There are two ways to create a new line.
Pressing: Enter/Return -or- Holding: Shift then Pressing: Enter/Return
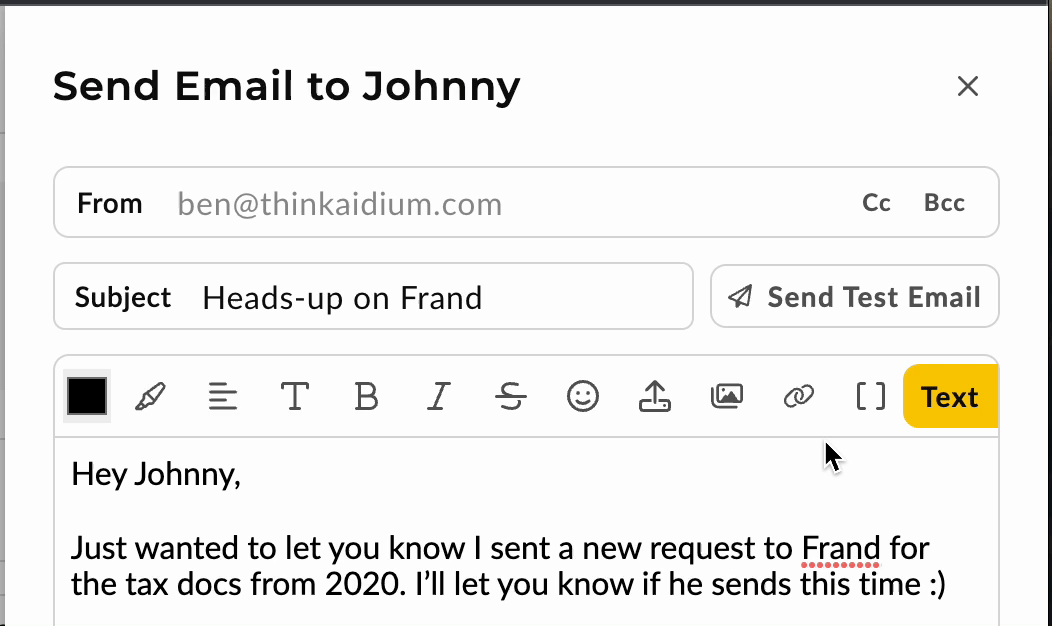
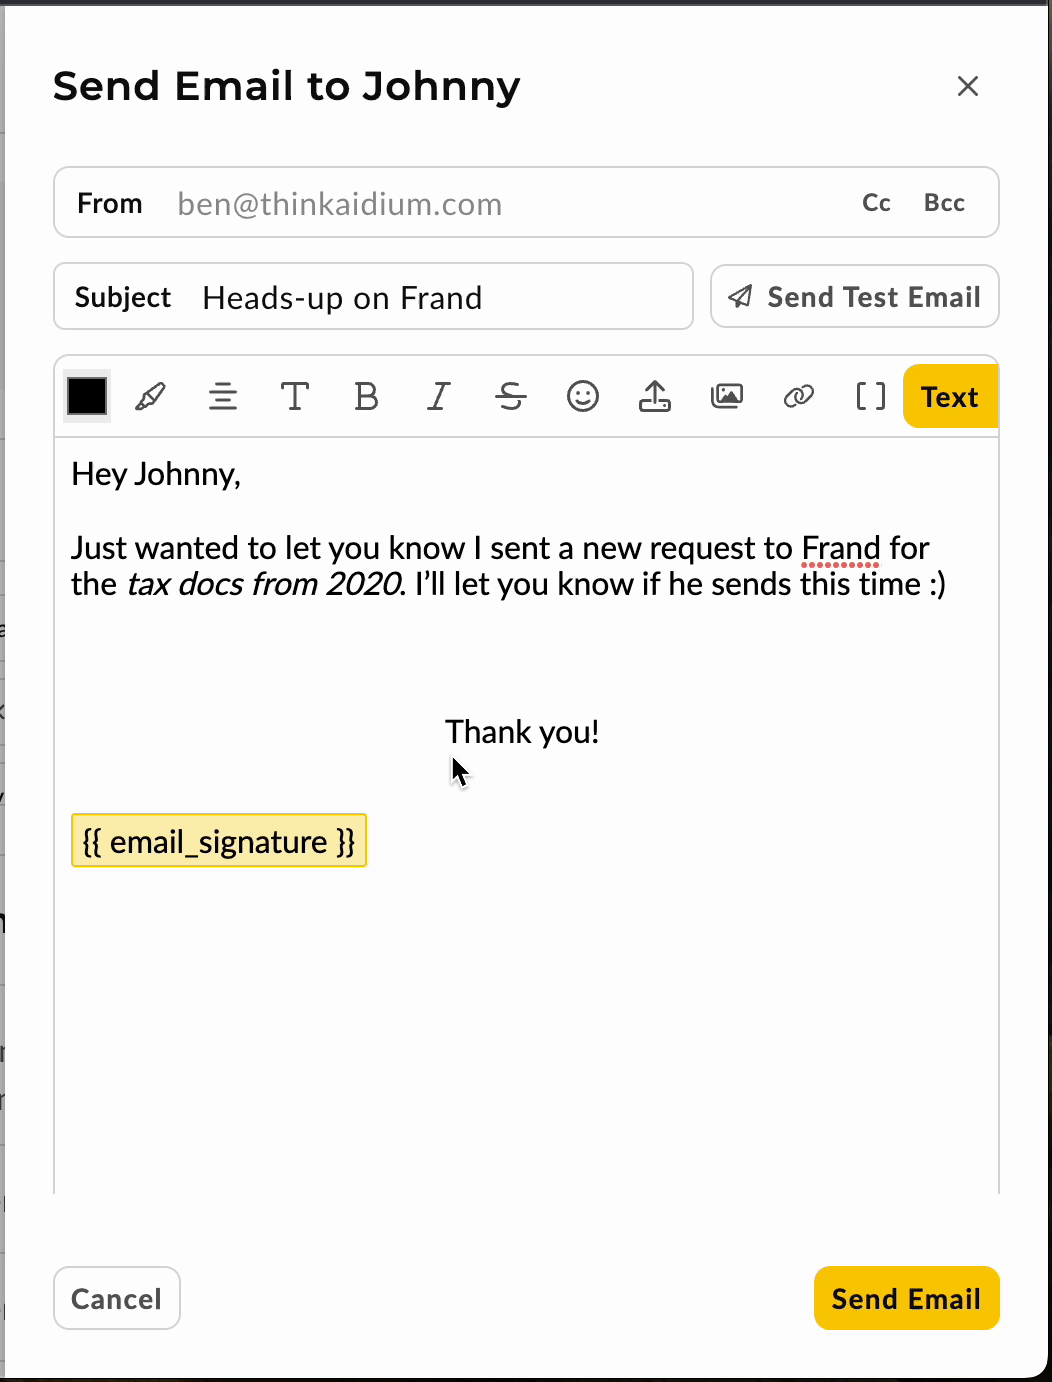
In the following image, we sent a test email (back of image) and then displayed the email received. This should demonstrate the input (back) and results (front).
👍 This concludes basic text formatting .
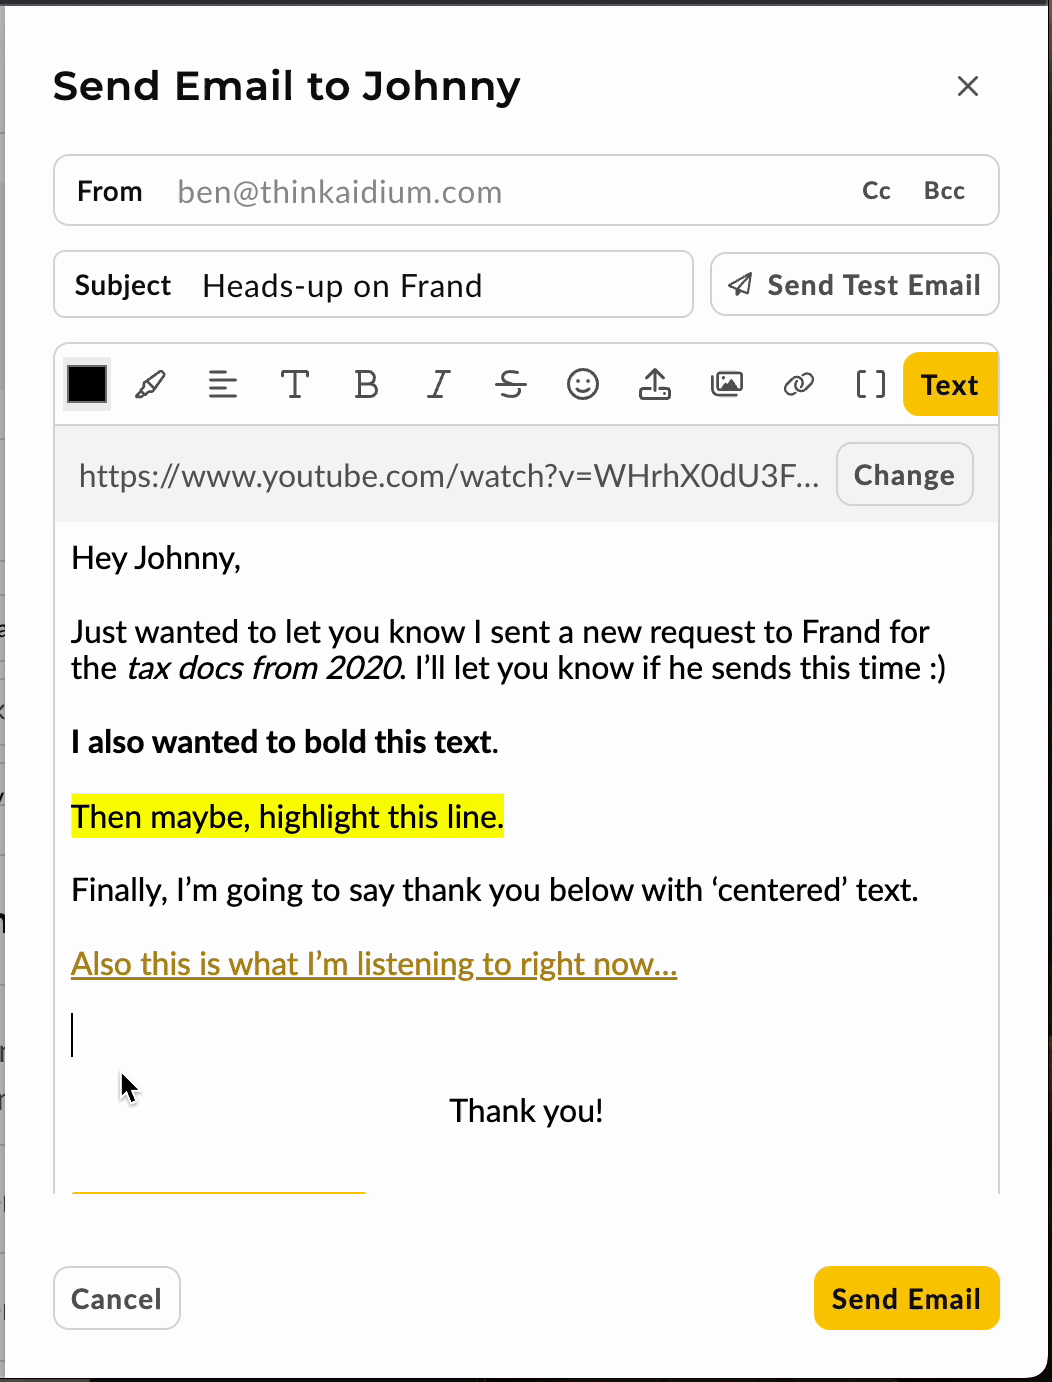
Adding an embedded link to text
Adding a link to text is a clean way to describe where a link will take someone without adding long, ugly or confusing links/URLs to emails. By simply highlighting the appropriate text, clicking on the 'Link' icon and adding your web link/URL, you can create as many easy to read and follow outbound links within your email. Here's an animated GIF to demonstrate.
👍 This concludes adding embedded links to text in an email.
Adding an Inline Image to your Email
Images can be easily added to work in conjunction with your text. It's a great way to quickly add visual reference to explanations, as well as supporting images or just friendly sharing of fun or ice-breaker images.
By simply placing your cursor where you would like your image and clicking on the Image button in the email editing toolbar - you can search your computer for the image you would like to add to your email. Here's an animated GIF to demonstrate.
To add a link to an image, click the image to highlight. Then, choose the link icon and type or paste the intended url into the link field.
👍 This concludes adding an inline image to your email
Adding an Emoji to an Email
Emojis are a great way to quickly express your demeanor in an email. They have become commonplace in when requesting efforts from someone else or when requesting patience. The animated GIF below will demonstrate how to locate and add an appropriate emoji to your email.
By simply setting your cursor where you would like the emoji, then clicking on the 'emoji' button in the formatting tool bar, you can search or scroll through the available emojis and choose the one you want to add.
👍 This concludes adding an emoji to your email. 😜
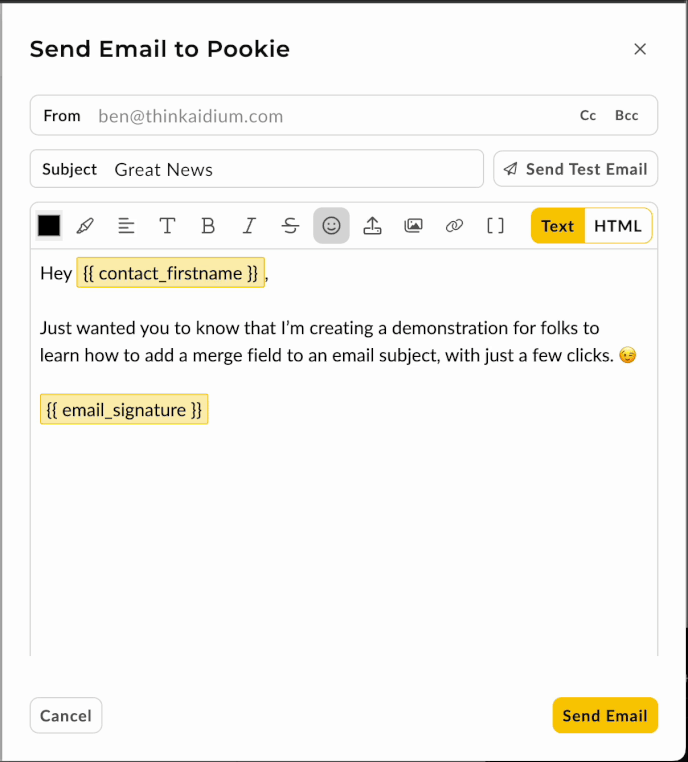
Add a Merge Field to an Email
Merge fields are an easy way to pull real information from a Contact Record. Using merge fields is most helpful when creating email templates, but may also come in handy when sending a direct email.
- Once you have the Email a Contact slide-out visible, please your cursor where you would like to add a merge field. Then, click on the [ ] icon in the formatting toolbar.
To save time, you can also simply type an '@' symbol to reveal the merge options without having to click on the merge field icon.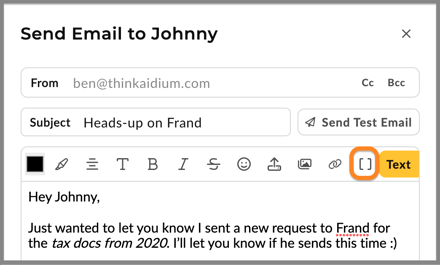
- Choose the merge field from the list that you would like to add. The below animated GIF, will demonstrate both methods, clicking the merge field icon and in-line @ symbol to call merge field options.
👍 This concludes adding a merge field to an email
Add a Merge Field to an Email Subject Line
Merge fields work well in email subjects as a way to both catch the eye of the recipient, and to help provide context to an email subject. Often, this can help get your emails noticed and increase the likelihood of being opened and read.
To add merge field to the subject:
- Add the merge field to the email body
- Copy the merge field by highlighting the merge field, right-clicking and choosing copy (Ctrl-C on PC -- Cmd-C on Mac)
- Place your cursor in the email subject where you'd like to place the merge field, then paste it in palce (Ctrl-V on PC -- Cmd-V on Mac)
👍 This concludes adding a merge field to an email subject
Add Attachment to an Email
To add an image or PDF to an email, as an attachment, look for the upload icon.

There are limitations to the size of an attachment of 3MB. Additionally, only image and PDF formats are officially accepted. JPG, JPEG, GIF and PDF.
🚧 Spreadsheet formats are specifically disabled for attachments, as most organizations have strict limits on the types of data that can be send via spreadsheet. Therefore, to adhere to these rules, these formats are not able to be added through Aidium as attachments.
👍 This concludes adding attachments to an email
HTML Edit Mode and HTML Cleanup
Making adjustments to HTML can be done by switching to the 'HTML' editor from the 'Text' by clicking the 'HTML' button and confirming.
One in the HTML editor, we can switch between the color formatting view and standard view.
Additionally, enhanced formatting is available at the click of a button. This will "clean-up" many HTML formatting issues that may be keeping us from being able to save the email when it has flawed HTML formatting.
Any changes made to the HTML can be instantly previewed by clicking the 'Preview' button. All of this is demonstrated in the animated GIF below.
👍 This concludes HTML Edit Mode and HTML Cleanup