If you'd like more detailed information on filtering, here are some additional resources:
Step-by-step article - Filtering TransactionsTo begin, go to the Transactions page by clicking 'Transactions' in the left menu group.
Follow along, or skip to any section of this article:
Create and Save a New Filter
-
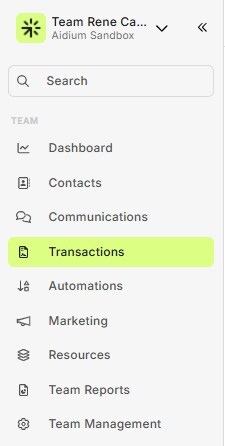
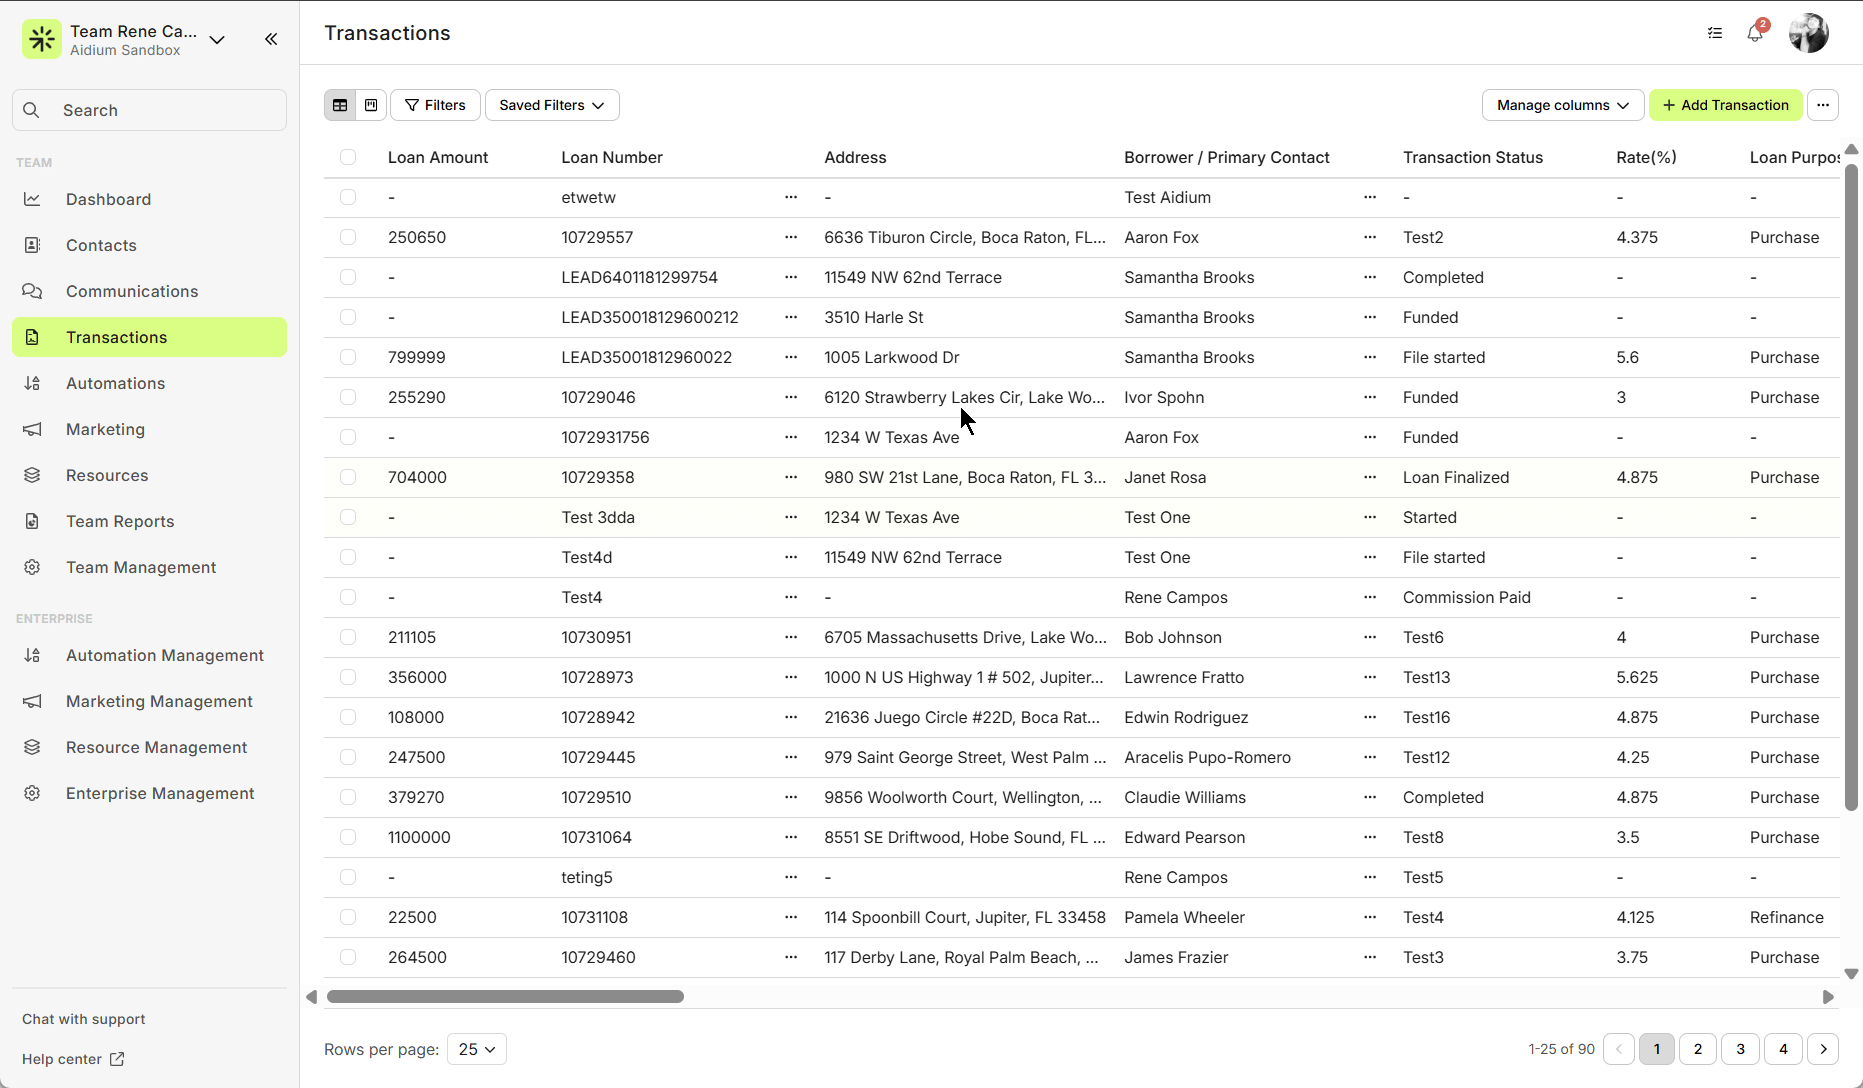
Go to the Transactions Page
-
Click Transactions in the left-hand menu.
-
-
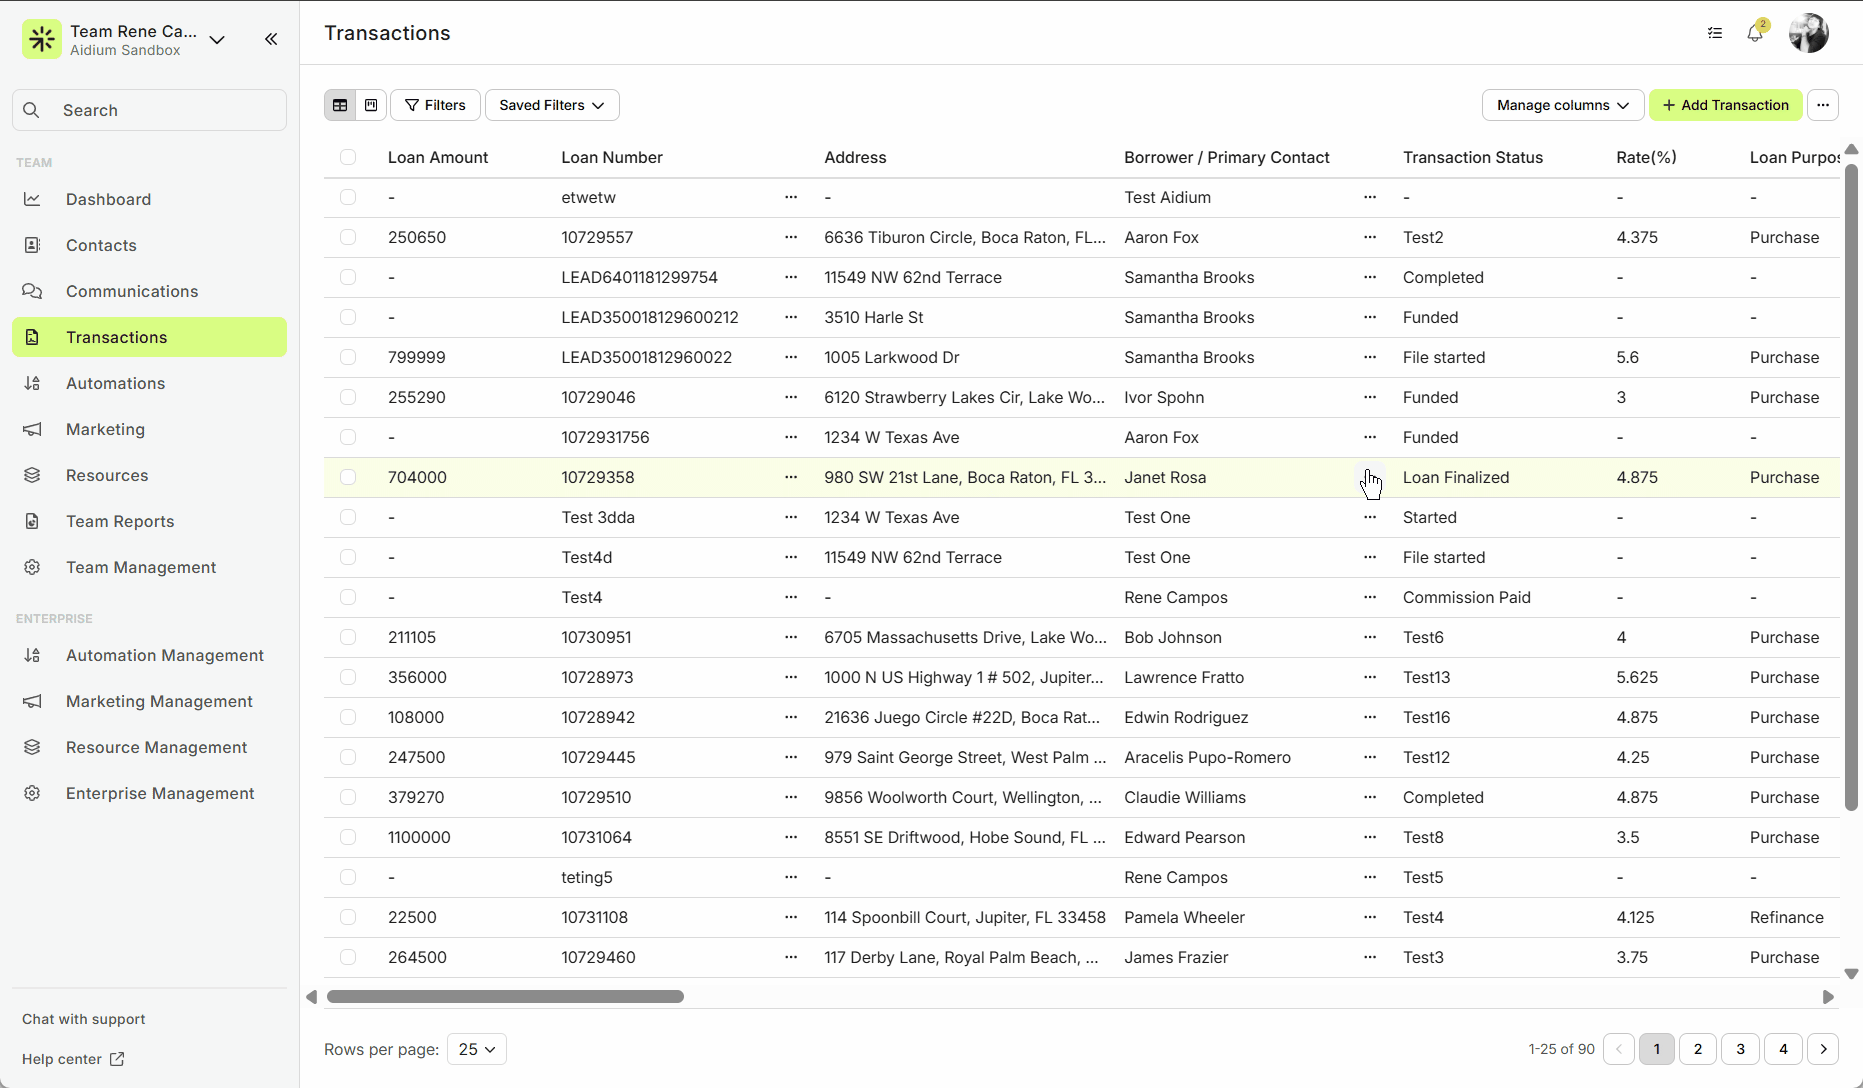
Access Filters
-
In the table view, you’ll see two buttons at the top:
-
Filters → create, apply, and save new filters
-
Saved Filters → access filters you’ve already saved
-
-
-
Add Filter Criteria
-
Click Filters, then + Add Filter Criteria.
-
Example: Let’s filter for:
-
Status = Loan Finalized
-
Property State = FL - Florida
-
-
-
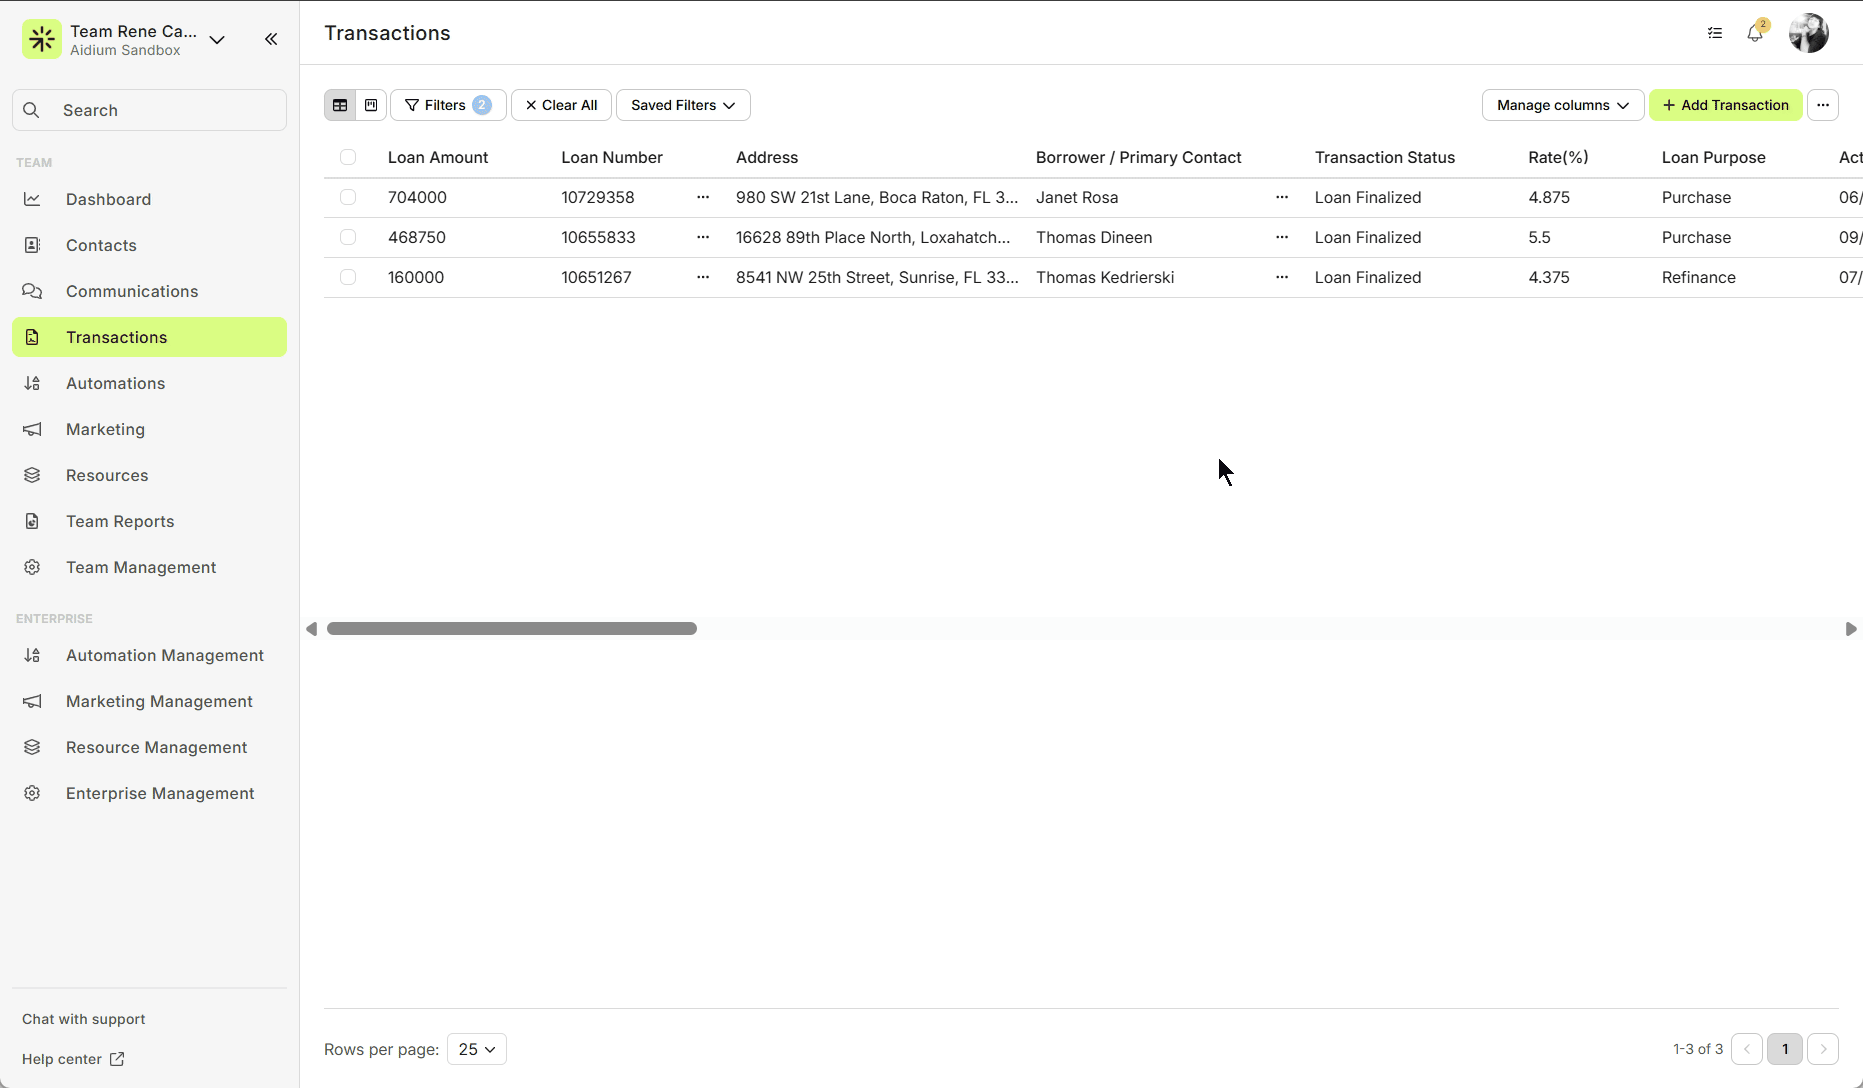
Apply or Save
-
Choose Apply to see the results right away.
-
Or choose Save Filter to name and save it for future use.
-
Tip: Use a clear name so you’ll recognize it later.
-
-
View Results
-
After saving, click Apply to see your filtered transactions.
-
Apply a Saved Filter
-
Click Saved Filters to see your list of saved options.
-
Select the filter you want. You’ll see the filter’s name and a quick preview of its criteria.
-
Example: A filter named UW - Wyoming with criteria:
-
Status = Loan Finalized
-
State = WY - Wyoming
-
-
You can always adjust filters by clicking Filters — changes won’t affect the saved version.
-
To clear everything, click Clear All.
Manage Saved Filters
Over time, you may want to clean up filters you no longer use.
-
Go to Saved Filters → Manage Saved Filters.
-
A slide-out will appear where you can:
-
Delete a filter (trashcan icon)
-
Load a filter (Load button)
-
🚨 Once the filter name is saved, it cannot be changed. Be sure to choose a name you'll be comfortable with long-term.
Need more help? Check out: Create and Save Contact Filters