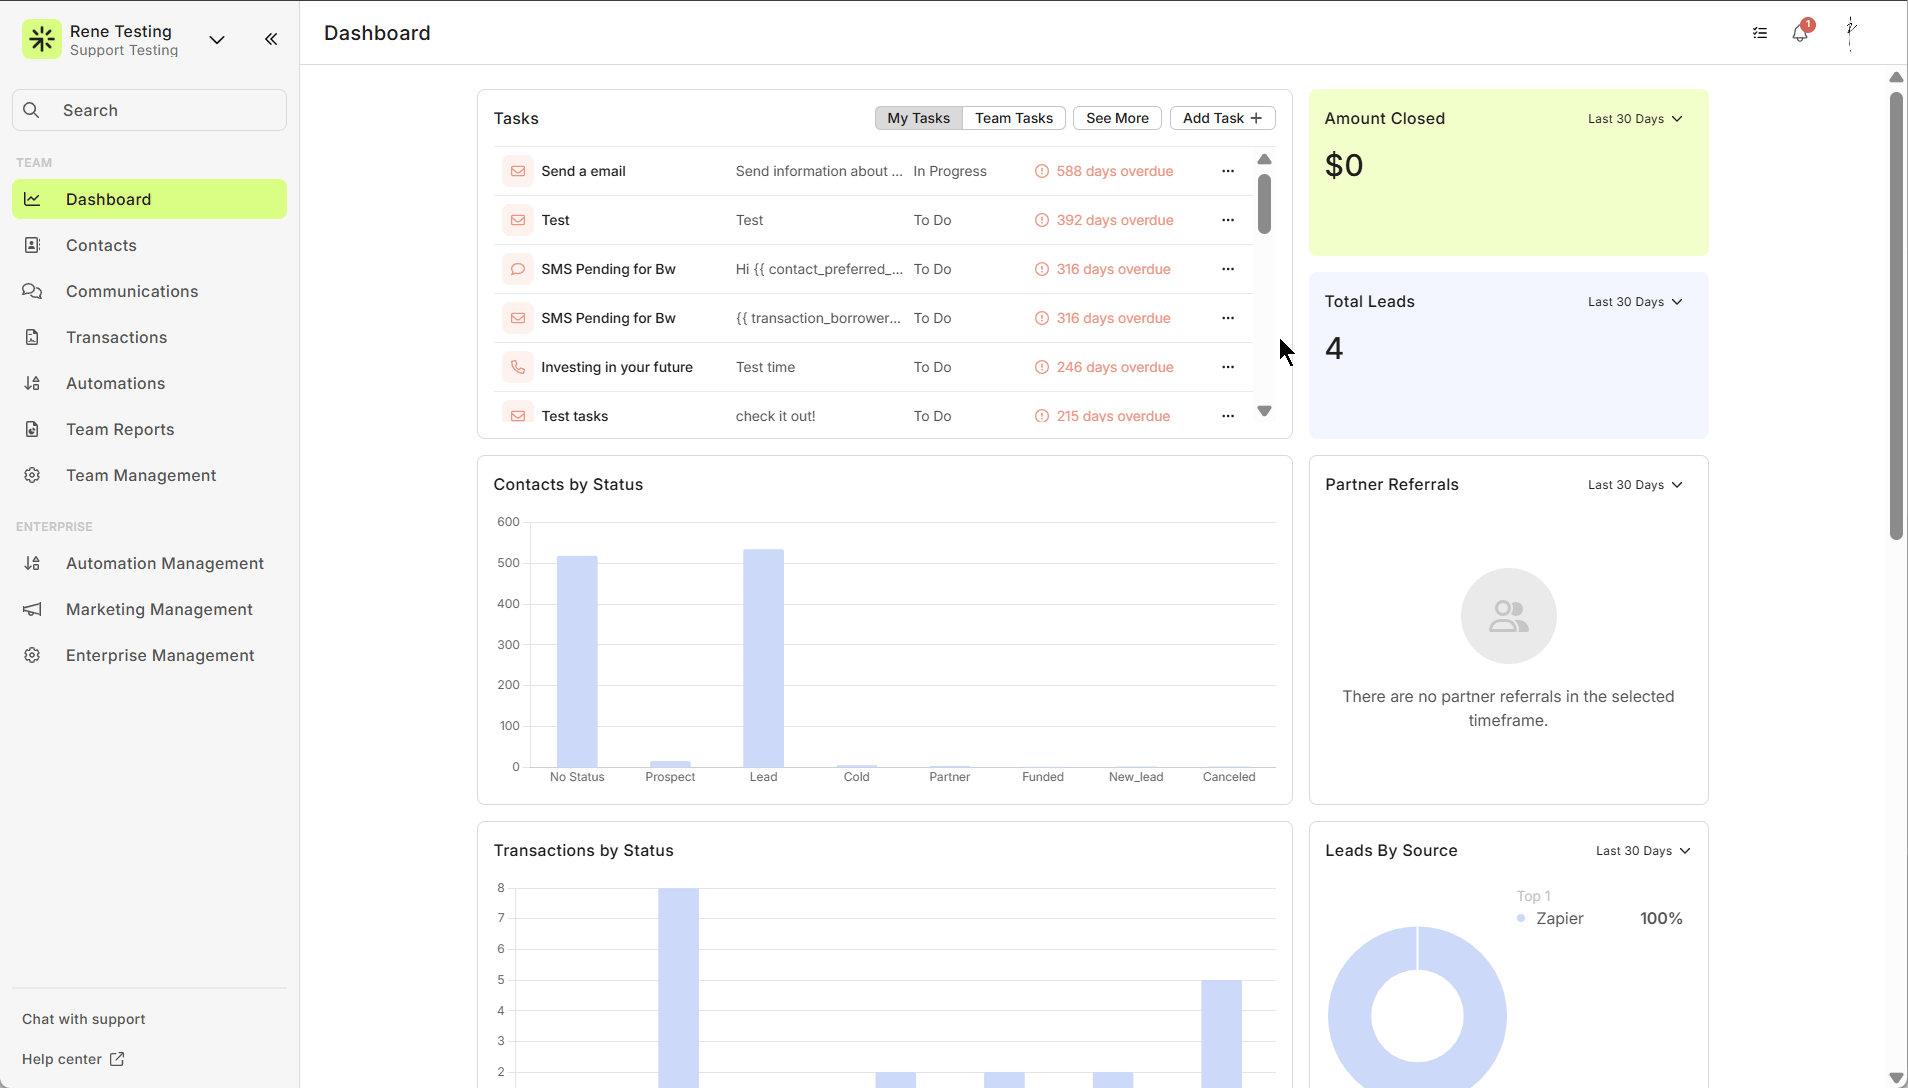
What’s New
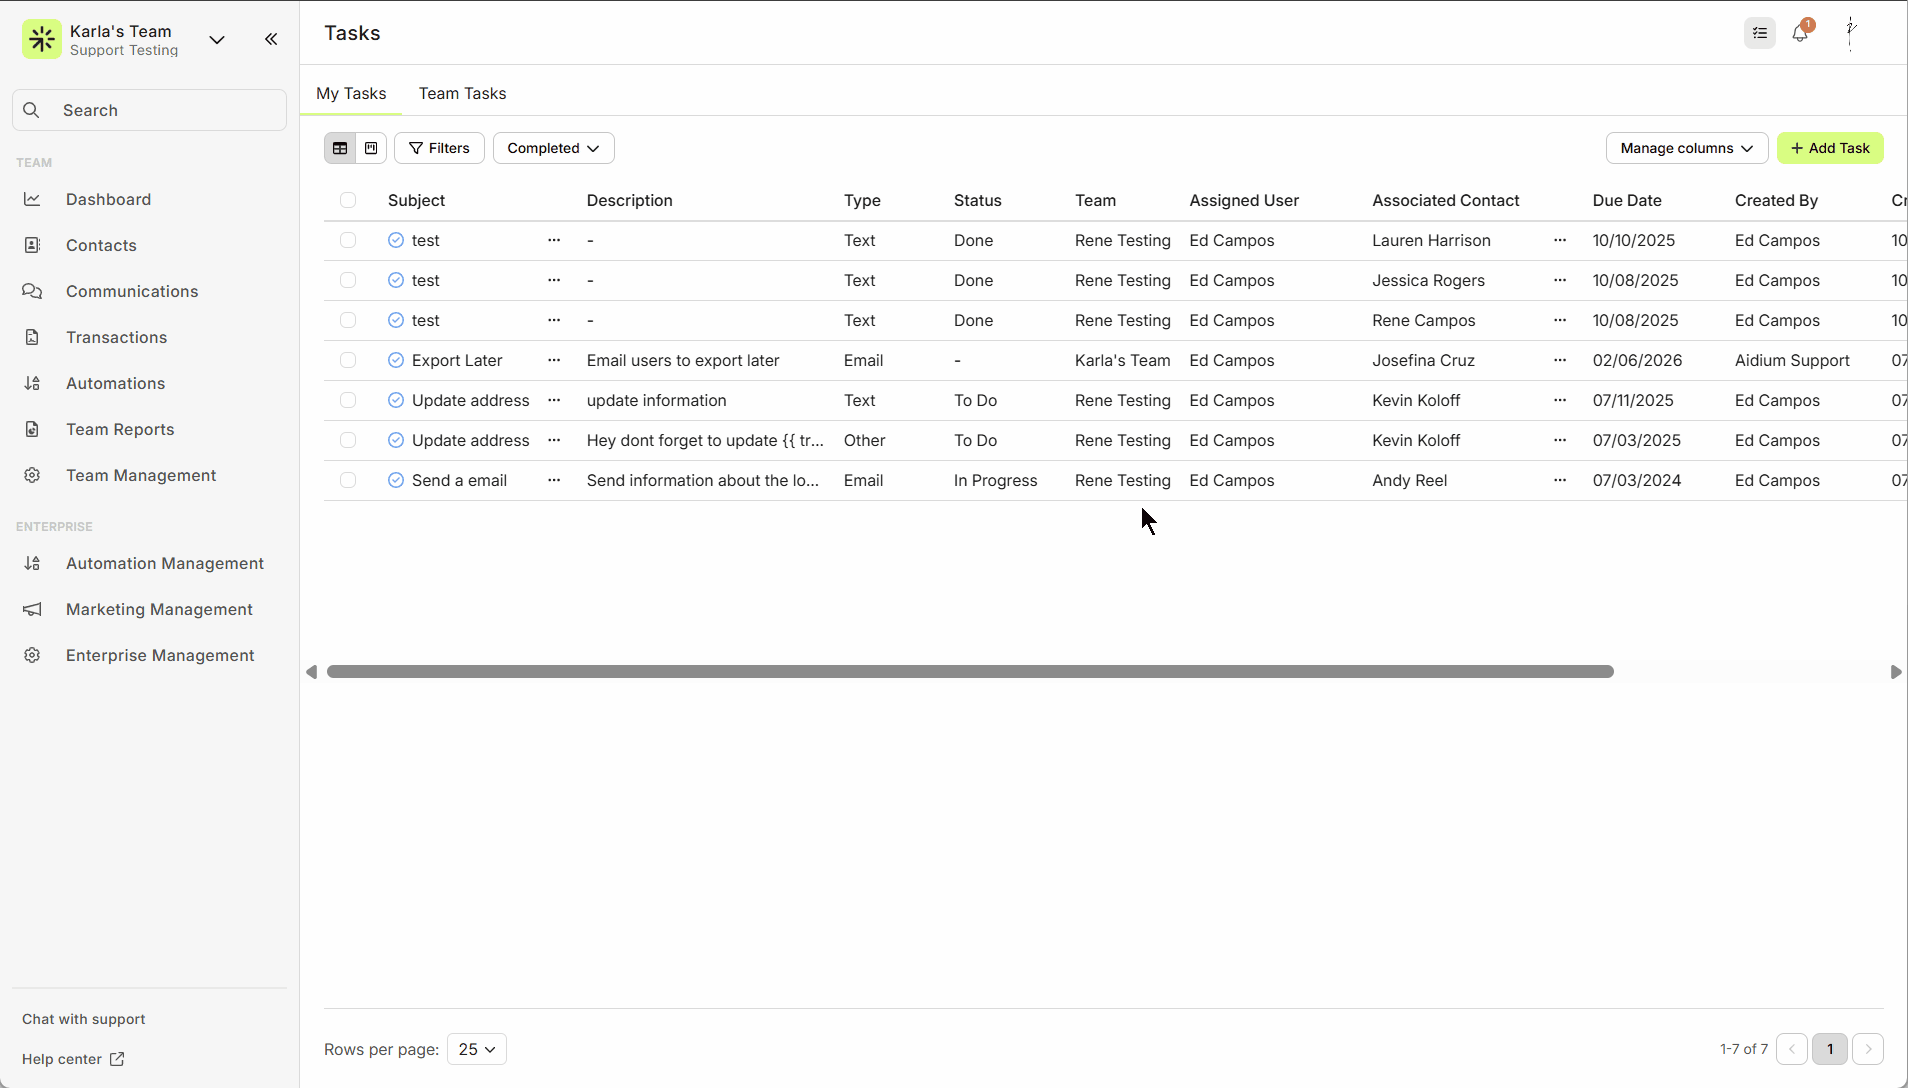
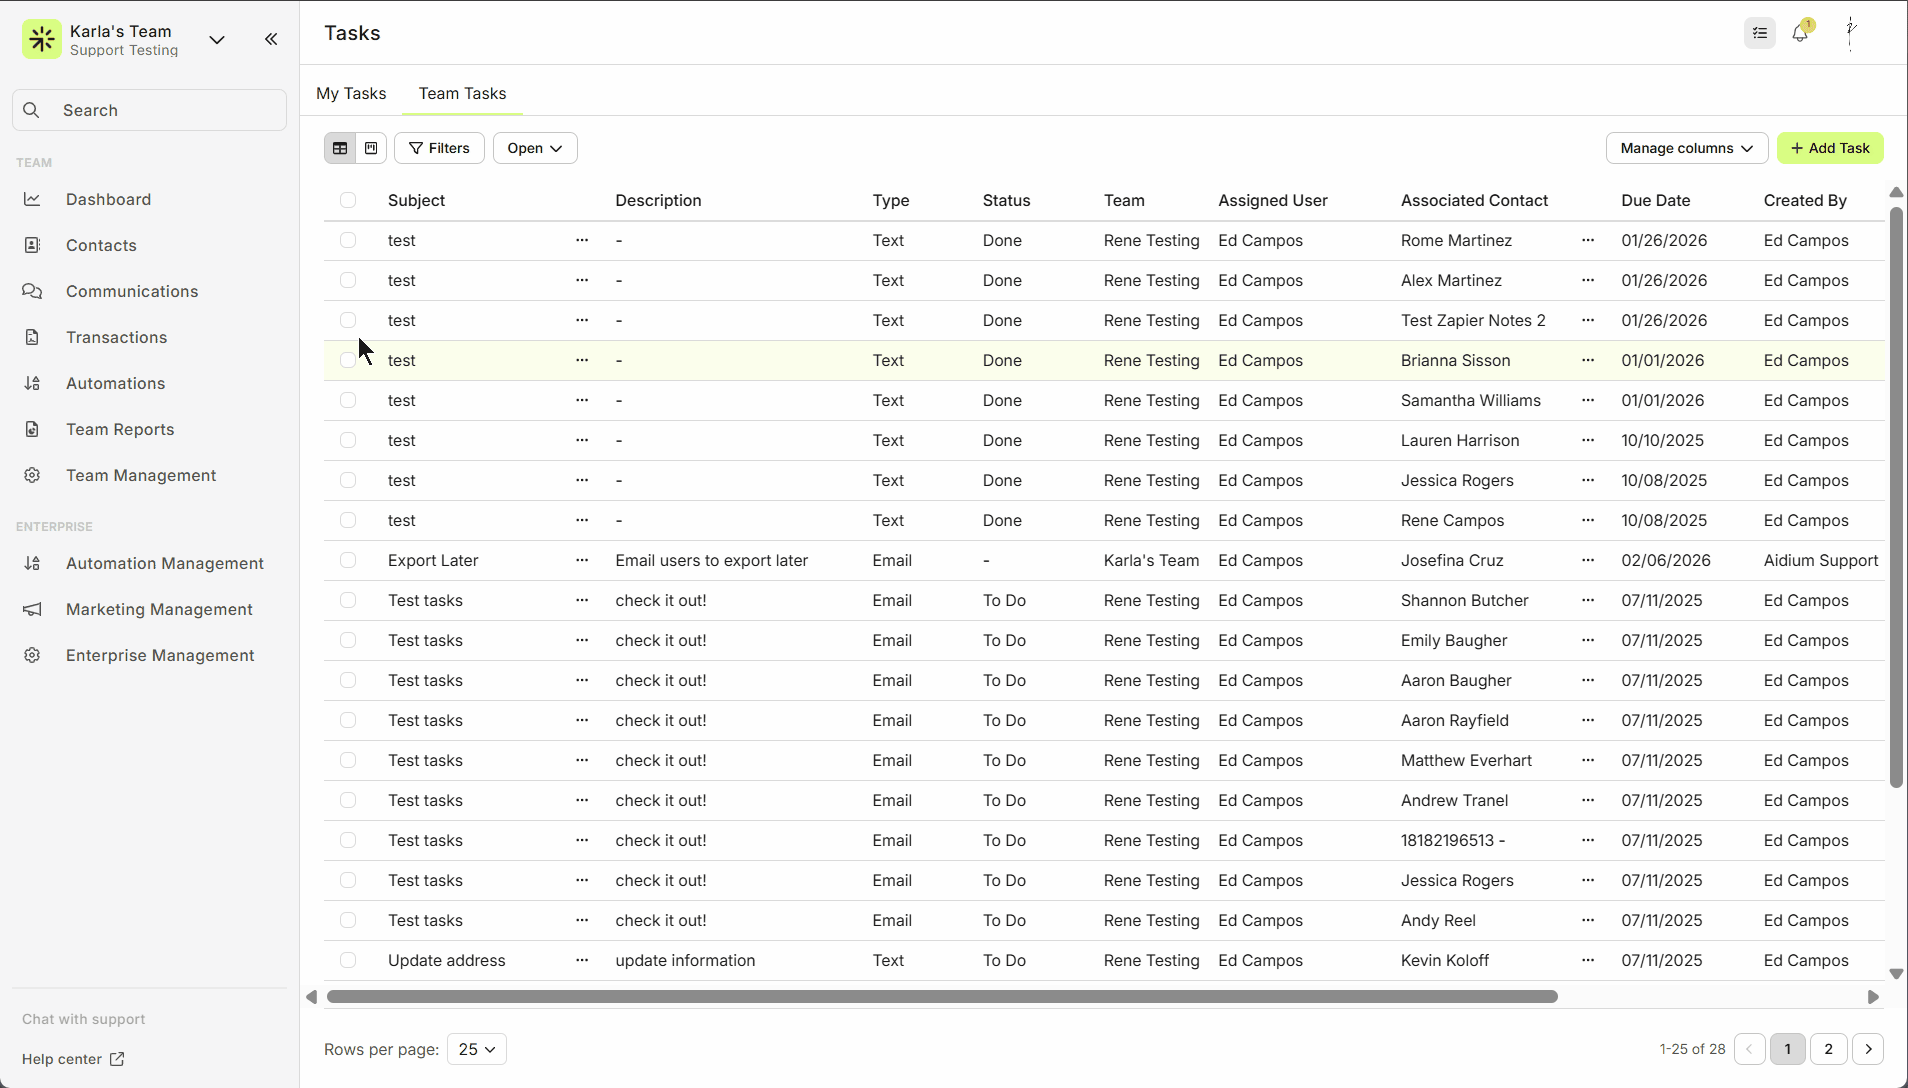
Tasks in Lendware have two states: Open (Active) and Completed (Archived).
Open tasks are visible by default and require action. Completed tasks are moved out of the main view to keep your workspace focused—yet they remain accessible when needed.
Here’s what you’ll notice:
- Tasks can now be clearly distinguished by these two states, giving you a cleaner view of what needs attention and what’s been handled.
- Open (Active) tasks remain displayed prominently; when a task is marked as Completed (Archived), it’s hidden from regular view unless you filter for it.
- Even though Completed tasks are hidden by default, they still reside in the system and are available for reporting and review.
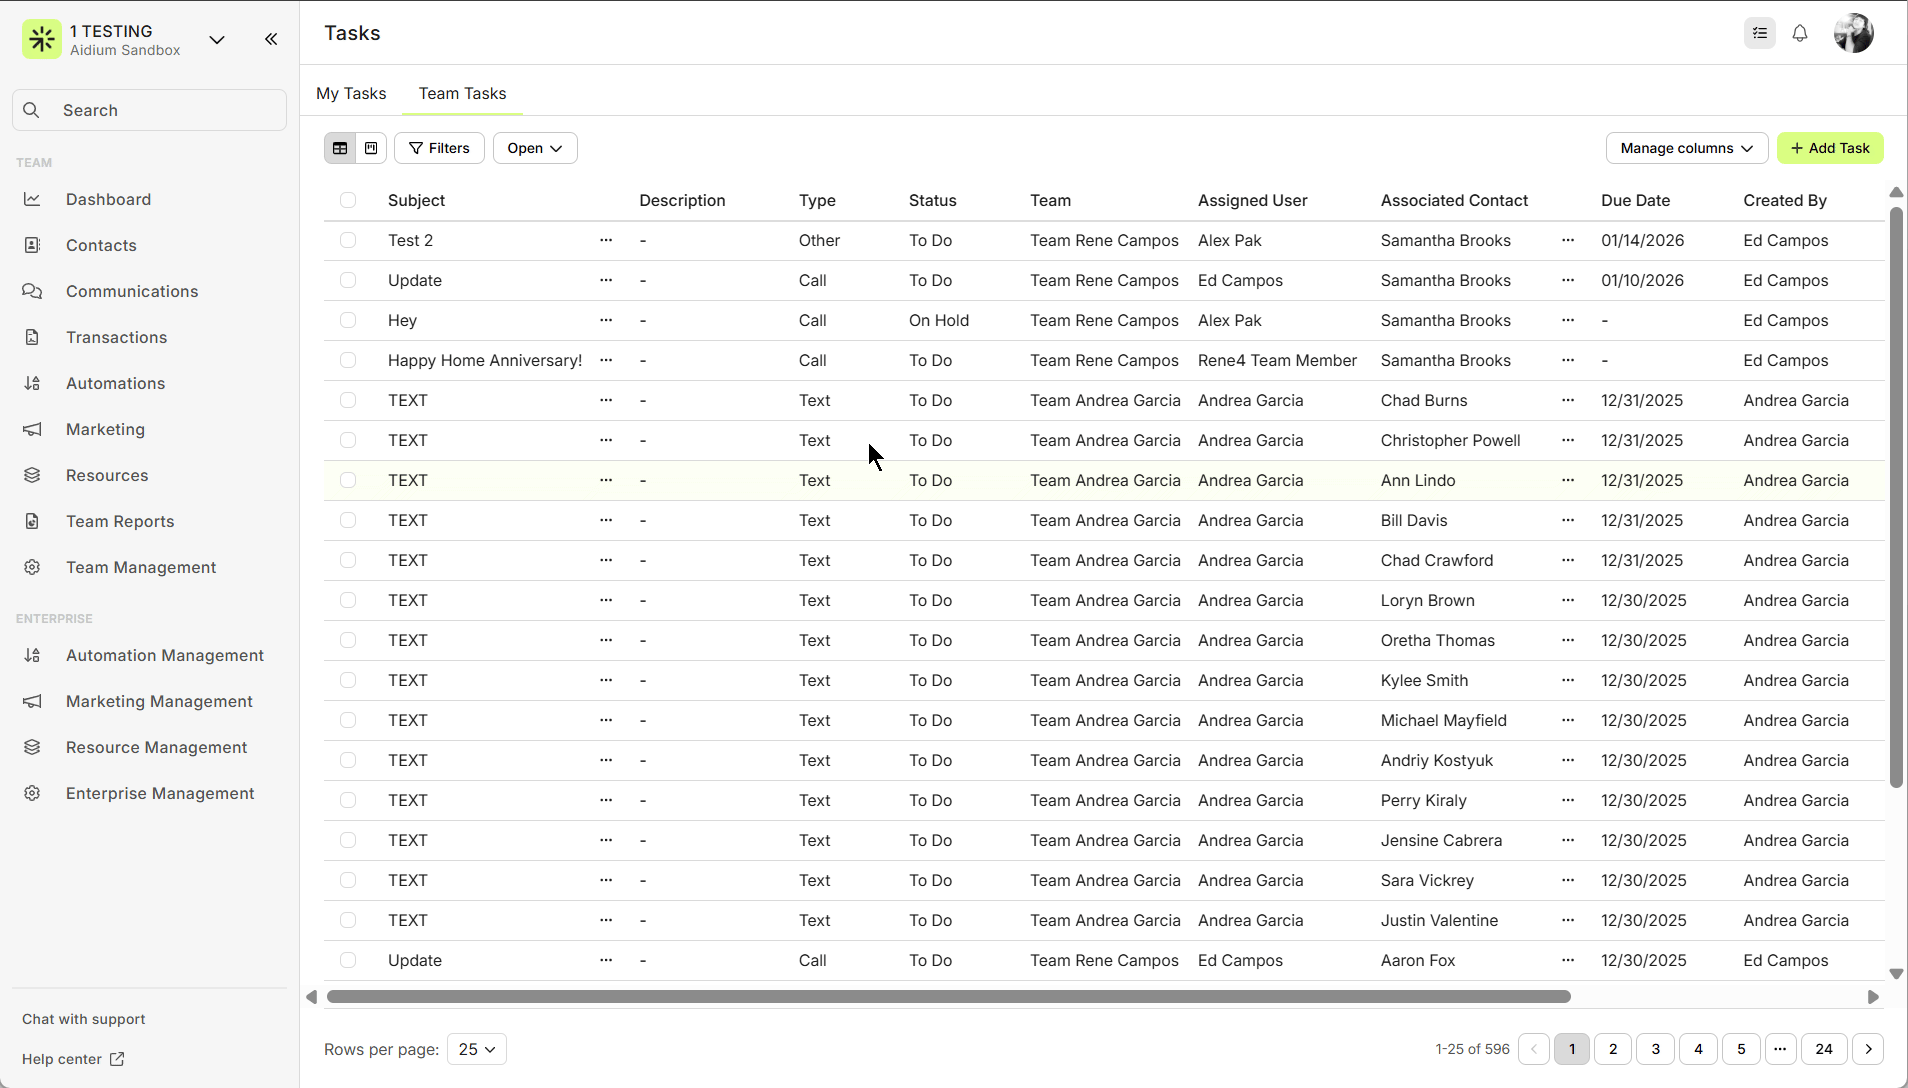
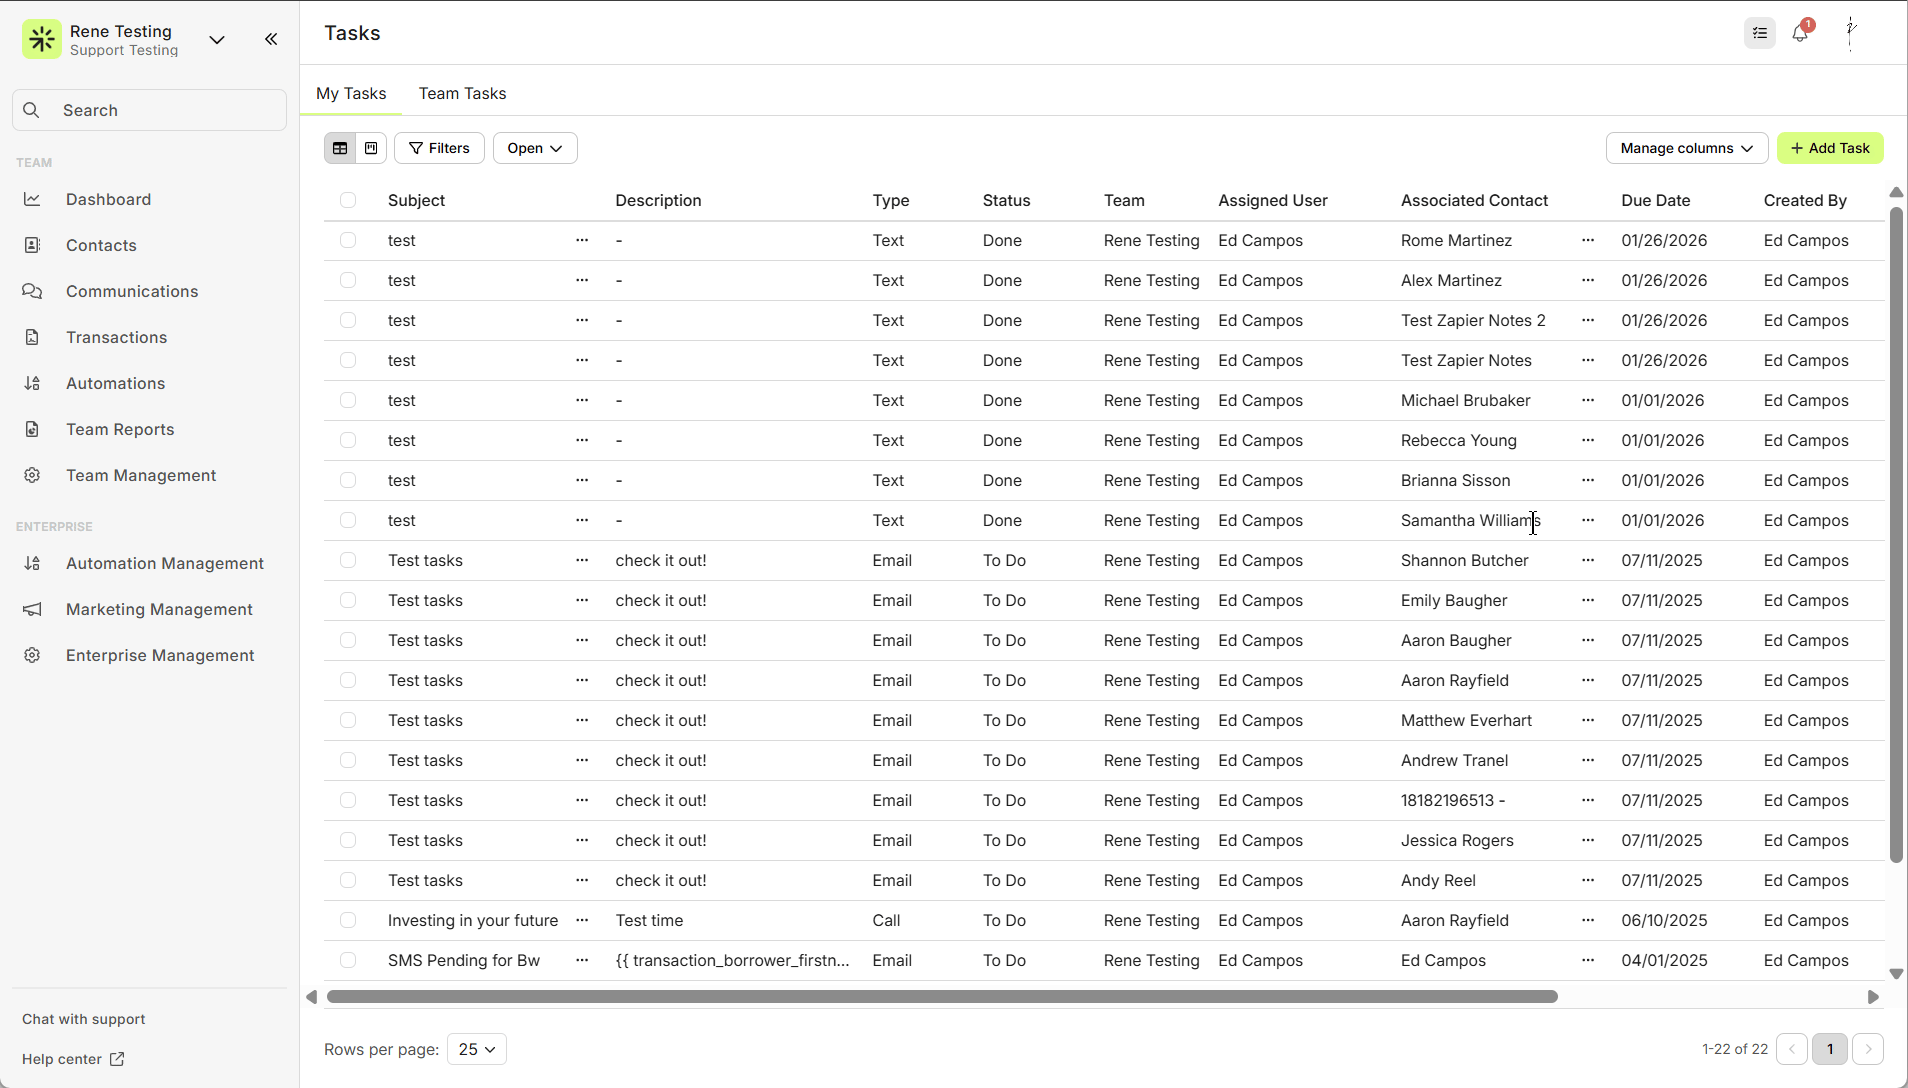
Bulk Actions
From the Tasks page, you can perform limited bulk actions to help manage multiple items at once.
Steps to use Bulk Actions:
- Go to the Tasks page.
- Switch to Table View (the view that shows tasks in rows).
- Select one or more tasks using the checkboxes—the Bulk Actions menu opens automatically.
- Choose one of the available actions:
- Reassign to Team Member – Assigns tasks to another team member
- Mark as Complete – Moves selected tasks to Completed
- Mark as Open – Reopens tasks previously marked as Completed
- Delete Tasks – Permanently deletes selected tasks
Tip:
Completed tasks have a blue check on the left-hand side in List View or bottom in Pipeline View.
Reassign to Team Member
You can now reassign multiple tasks to another team member using Bulk Actions.
How to Reassign Tasks:
- Go to the Tasks page and switch to Table/List View.
- Select one or more tasks using the checkboxes — the Bulk Actions menu will open automatically.
- Click Reassign to Team Member.
- Select the team member you want to assign the tasks to.
- Click OK to confirm — the selected tasks will now be reassigned.

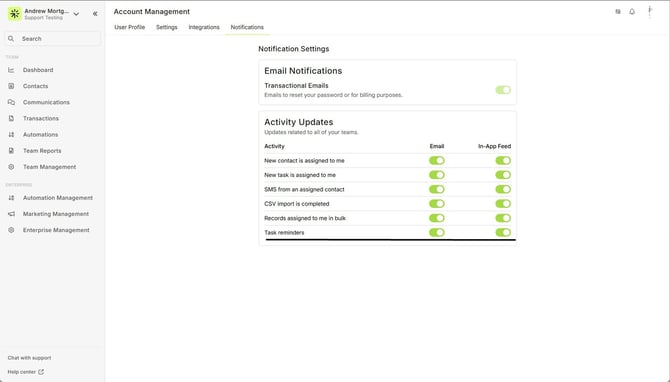
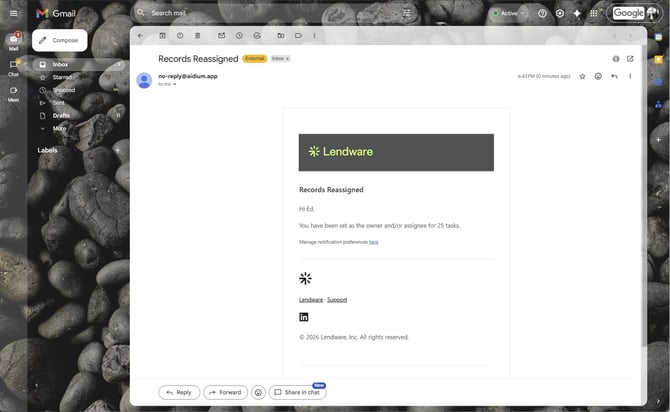
When reassigning tasks, the selected team member will receive a notification if they have Assigned in Bulk enabled. You can also learn more about in-app notifications.
Tip:
Use this option to easily redistribute workloads or update task ownership across your team.
Marking Tasks as Completed
You can update task status either individually or in bulk:
1. Mark a Single Task as Completed
-
Open the Task you want to update.
-
Click Mark as Complete from the task actions menu. You can perform this action:
- From the Contact page, either using the ‘Mark as Complete’ option in the context menu (…) or from within the edit drawer
-
- From the Tasks Management page, either via the context menu (…) or from within the task’s edit drawer.

-
- From the Dashboard, using the ‘Mark as Complete’ option in the context menu (…)
-
The task moves automatically to the Completed state.
2. Bulk Actions to Mark Tasks as Completed
- Select multiple tasks in Table/List View.
- Choose Mark as Complete from the Bulk Actions menu.
How “Completed” Tasks Work
| Current State | Page/View | Result |
|---|---|---|
| Task is Open in any status | Dashboard widget | Task is shown |
| Task is Open in any status | Contact details page | Task is shown |
| Task is Open in any status | Tasks page (Table/List) | Task is shown |
| Task is Open in any status | Tasks page (Pipeline) | Task is shown |
| Task is Completed in any status | Dashboard widget | Task is hidden |
| Task is Completed in any status | Contact details page | Task is hidden by default |
| Task is Completed in any status | Tasks page (Table/List) | Task is visible when filtered |
| Task is Completed in any status | Tasks page (Pipeline) | Task is visible when filtered |
Viewing Completed Tasks
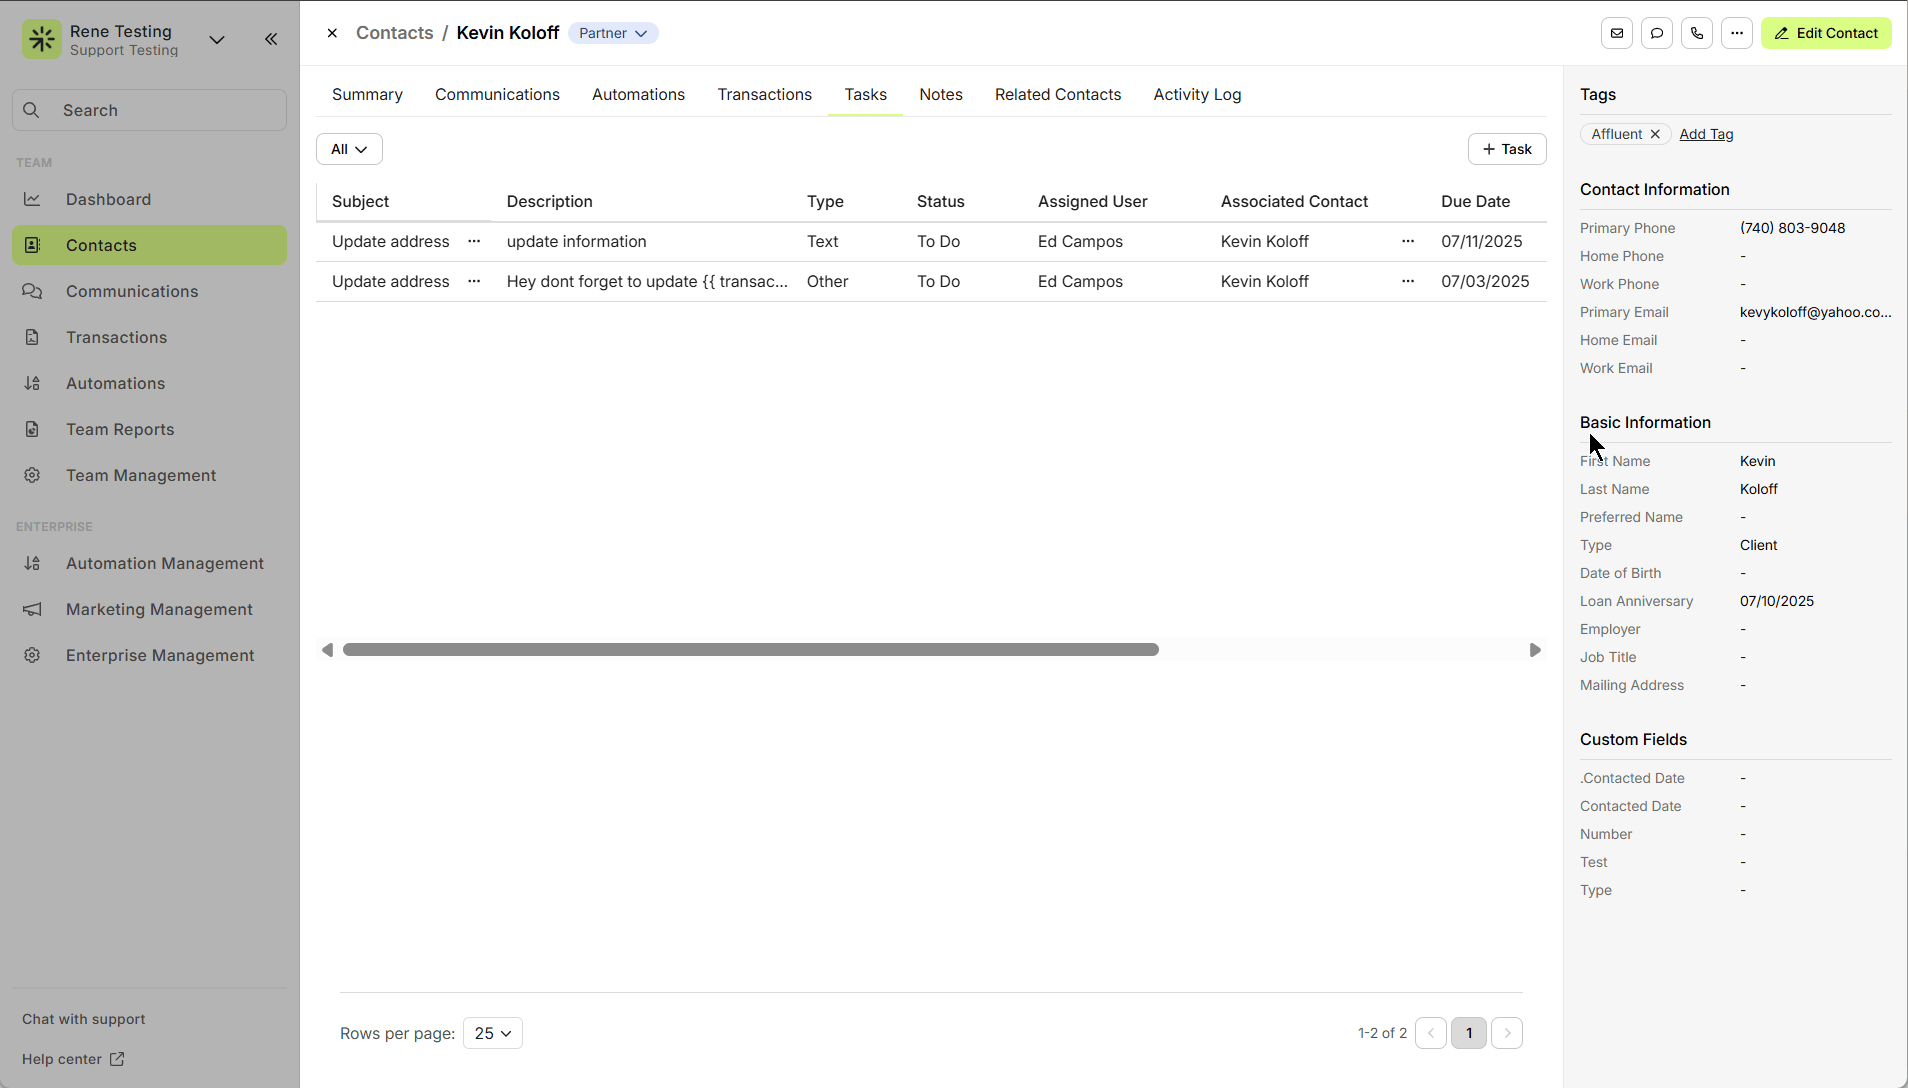
You can view completed tasks from two places: the Tasks page or the Contact tab.
1. From the Tasks Page
-
Table/List View: Use the filter and select Completed to see all tasks marked as Completed.
- Pipeline View: Completed tasks appear in the appropriate column if filtered.
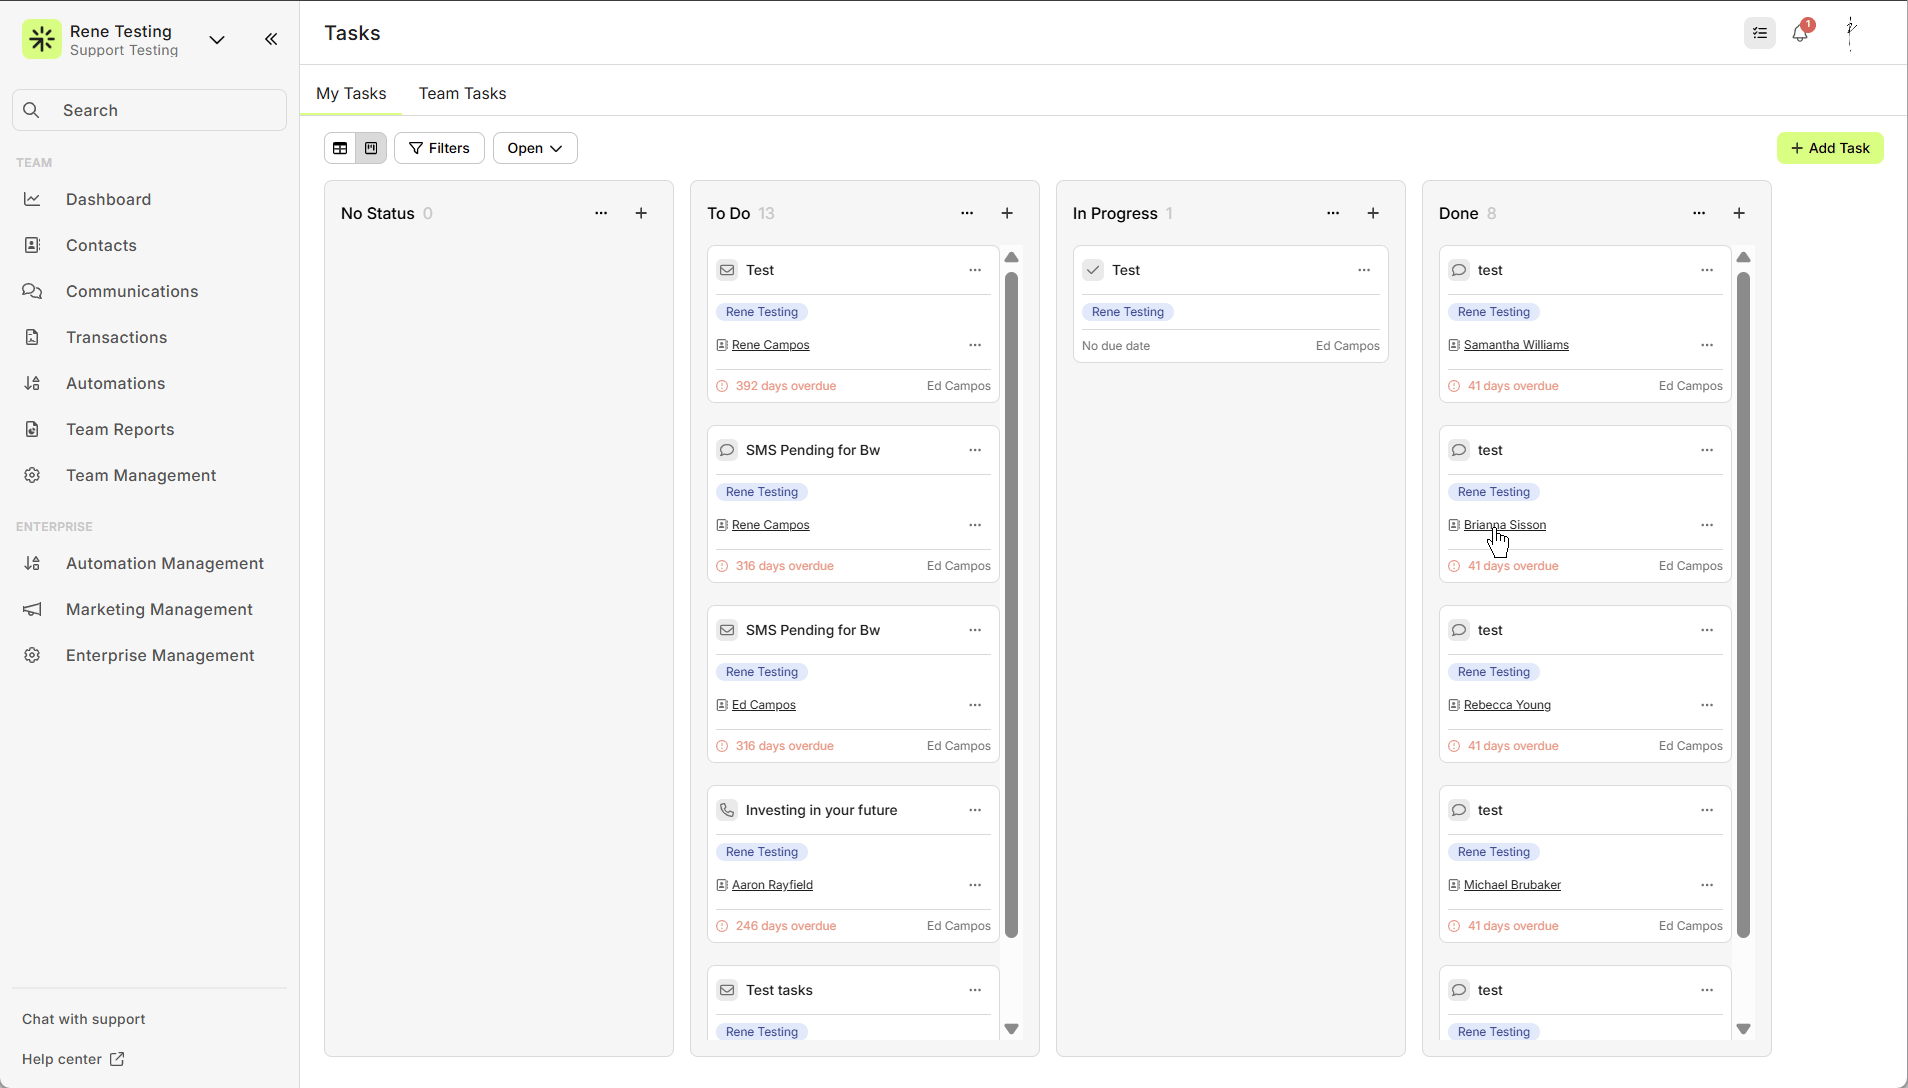
Mass/Bulk Actions are not available in Pipeline View, but you can still see which tasks are completed.
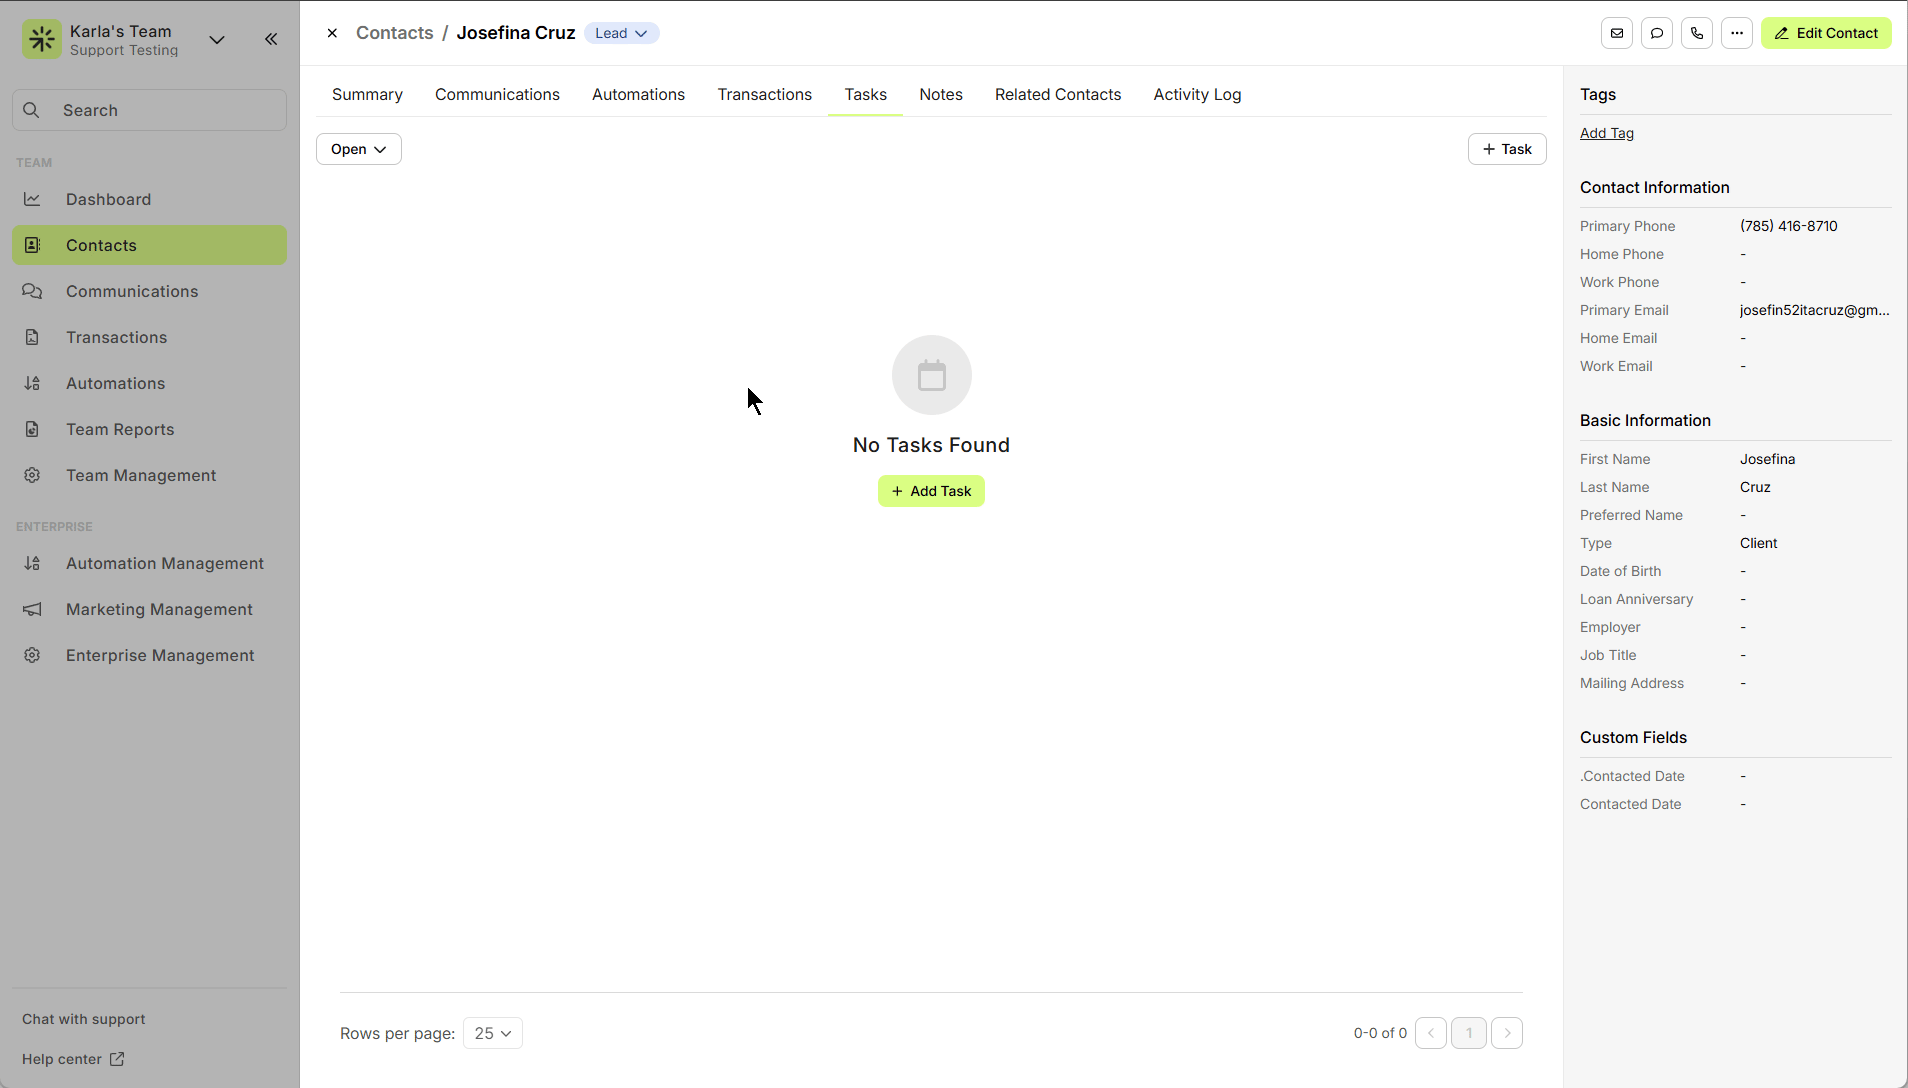
2. From the Contact Tab
-
Open a Contact in the system.
-
Navigate to the Tasks tab within the contact detail.
-
Look for the Completed section to see all tasks marked as completed for that contact.
Tip:
You can reopen tasks directly from either view by selecting Mark as Open.
Reopening Tasks
Tasks can be reopened at any time:
Single Task
-
Open the task or its edit drawer.
-
Uncheck the Completed checkbox or use the context menu (…) and select Mark as Open.
-
The task will move back to the Open view.
You can perform this action from:
- The Contact page
- The Tasks Management page
Bulk Tasks
-
Select multiple tasks in Table/List View.
-
Choose Mark as Open from the Bulk Actions menu.

Deleting Tasks
You can now permanently delete tasks using the Bulk Actions menu in Table/List View. This gives you full control to clean up tasks that are no longer needed.
How to Delete Tasks:
- Go to the Tasks page and switch to Table/List View.
- Select one or more tasks using the checkboxes. The Bulk Actions menu will open automatically.
- Click Delete.
- Confirm the deletion when prompted.
⚠️ Important:
- Deleting a task is permanent. Once deleted, it cannot be recovered.
- Bulk delete is only available in Table/List View. Pipeline View does not support mass deletions.
- Completed or Open tasks can be deleted using this method.
Quick Tips:
-
Use delete sparingly to avoid losing important historical data.
-
If you want to retain records for reporting, consider marking tasks as Completed instead of deleting them.
The new task structure helps you stay organized by separating completed work from active tasks.
Need more help? Check out: Pipeline View of Tasks